Do you remember last Halloween? You were sure to have an amazing carving… but you knew it could be better. This year, it will be different.

When you follow this guide, people will seriously freak out over how awesome your pumpkin looks. (You might even win a free pizza from the neighborhood association).
Here’s the amazing part -- you don’t need to be a pumpkin master with an Arts Degree… and you don’t even need expert carving tools from Target (They’re all sold out anyway).
But what if I told you that you can carve a jaw-dropping Jack-o-Lantern (literally) like a pro using improvised items found in your house?
Take a look at the easiest ways to become the King or Queen of Halloween Pumpkins… even if you’re not a master crafter.
Jack-o’-Stencil You don’t need to take a course from carving. All you need is a paper!

:O Now just follow these easy steps...
Make sure that your pumpkin is nice, smooth, and large enough to lay out your designs.
Step 2 incoming… get ready to run around the house...

- Printed stencil
- Big and small knife
- Scraper
- Bleach
- Scissors
- Tape
- Pushpin
- ½ cup of flour
- Candle
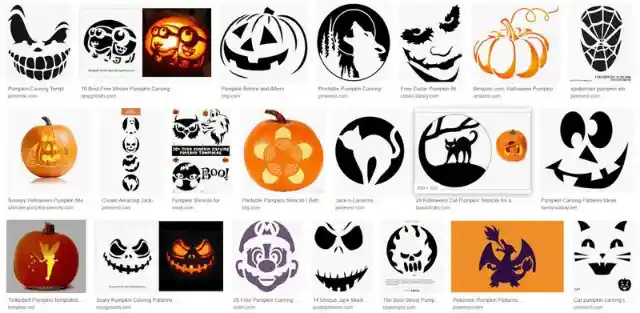
GOOGLE a design of your choice!
Go to google and search for “free stencil designs”. You can choose a wide variety of cool outlines that would definitely make your pumpkin one of a kind.

Print your design on a bond paper. Soon, you’ll learn why!
Use your knife to carve a hole around the stem of your pumpkin.
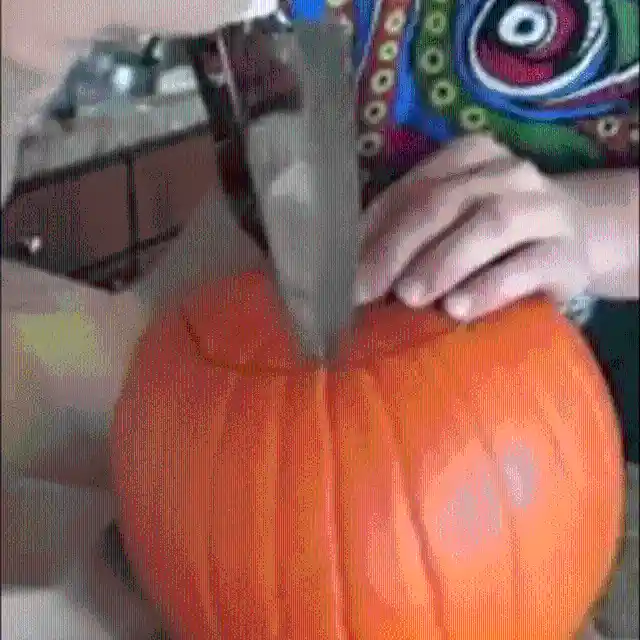

Pull out the stem to reveal what’s next for you...
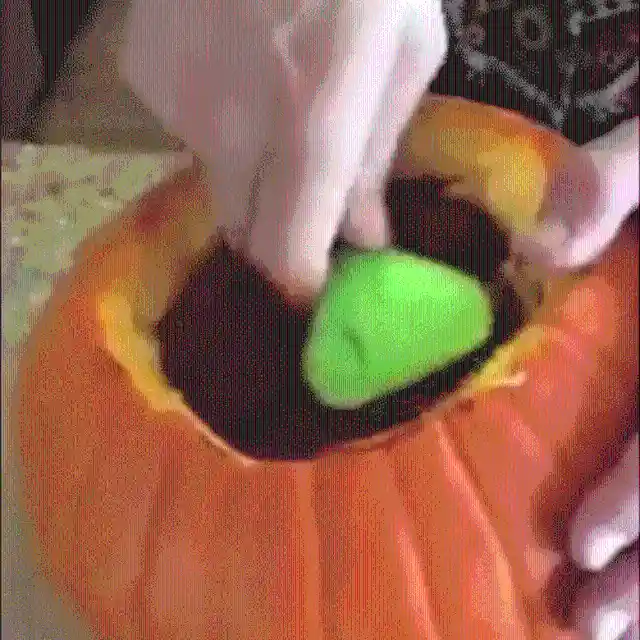
Use the scraper to shear the pumpkin guts until the inside of the fruit is clean and smooth.
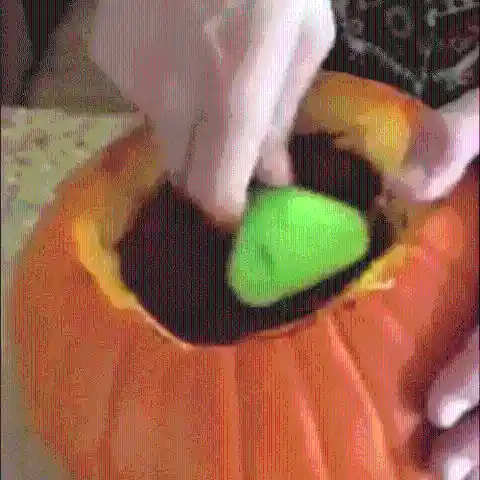
***The next step is extremely important and overlooked by most people, but PROS swear by it***
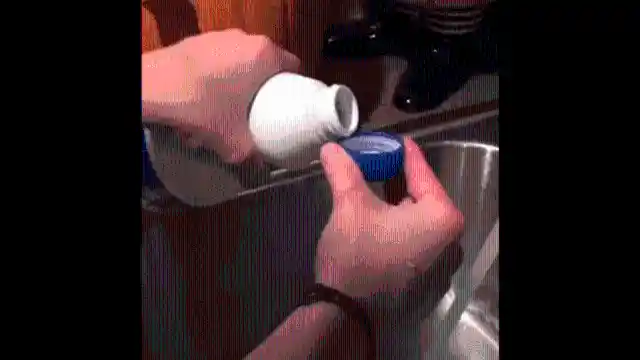
Add a cap full of bleach in the water and soak the fruit for about 30 minutes. This will fight bacteria and extend the life of your pumpkin.

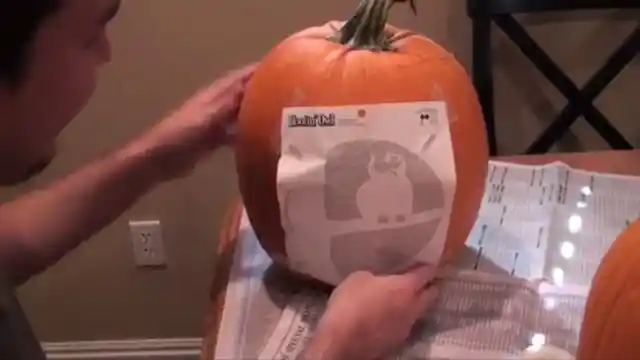
Dry up, and grab your stencil!
With your scissors, cut and slit the corners around the image. Tape those corners on the pumpkin.

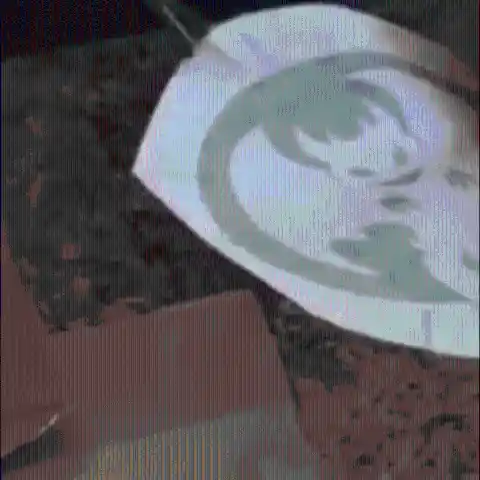
This trick should warp the paper well with the curvature of the pumpkin. Next is the fun part...
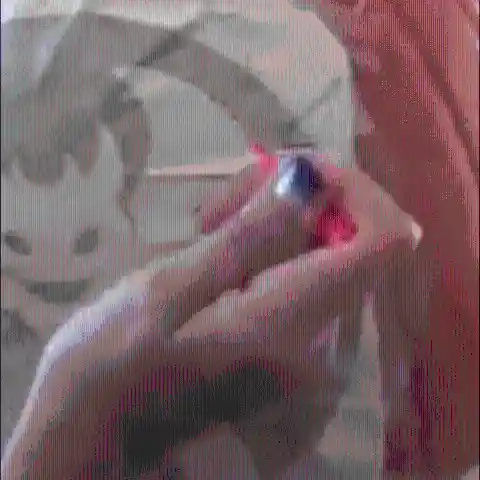
With the stencil as your guide, use a pushpin to poke the entire outline into the shell of pumpkin.
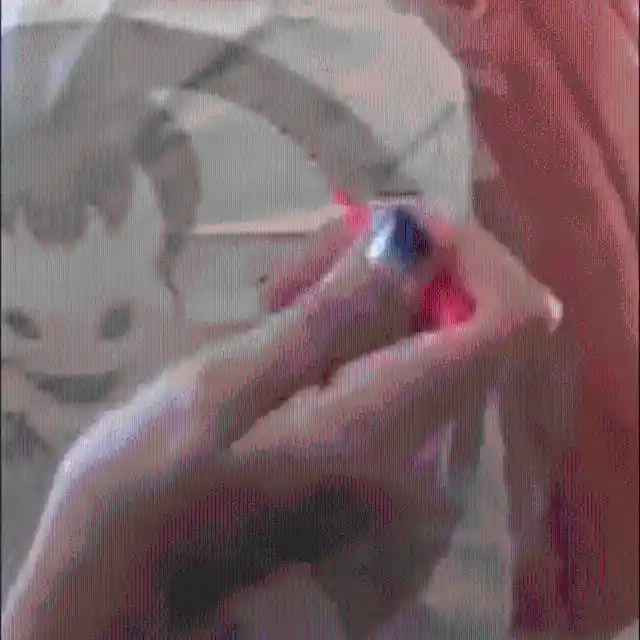

If you’ve made it this far, you MUST do the next hack to bring it together...
Remove the paper and coat the flour all over the pumpkin.

This will be useful when you start carving as it will highlight the holes… You’re almost there!
Use a small knife to chisel the holes. You will notice your desired design is starting to emboss from your pumpkin.

Now it’s time for the final step...
Light up your candle and place it inside your pumpkin. TA-DAAH! You just became a master of pumpkin carving.


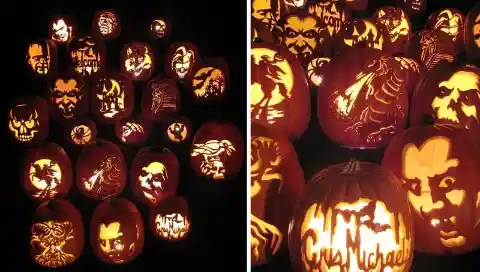
Now prance, and don’t forget to put your Jack-o’-Lantern in the porch with a smirk on your face 😉 P.S. Check out these amazing Bonus Pumpkin Examples on the next page.
You can still bring spice to your Halloween without making any slices on your pumpkin.
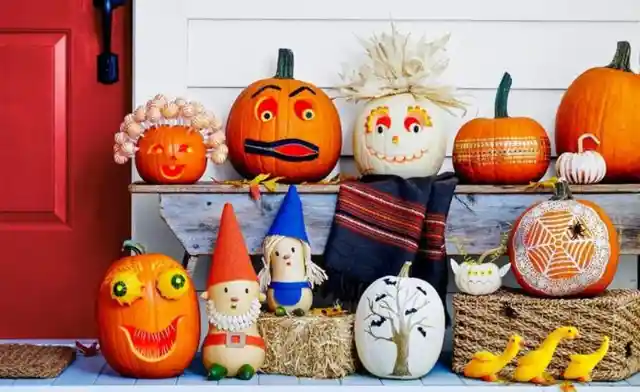
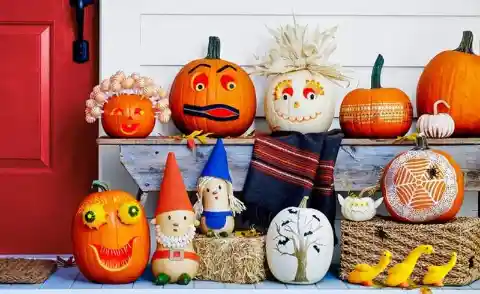
Here are some ideas:
Give your Jack-o’-Lantern the beauty rest that he deserves by treating him with a face mask. You only need paint, photos of cucumber slices, and a glue.

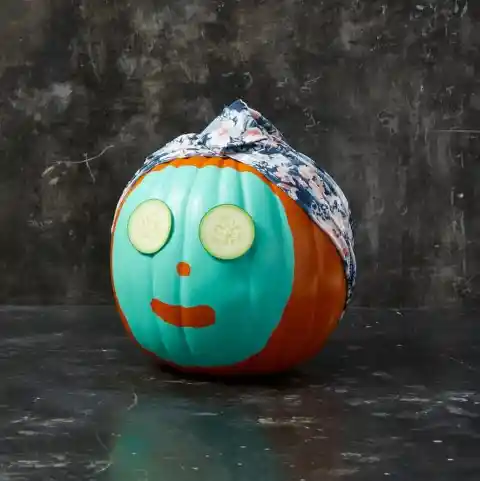
After he dries up, wrap a towel around his head to keep him renewed and vitalized. #FreshFromTheBath #FFTB
Wrap the gauze around the pumpkin and hot glue to secure. For its vision, leave a space and paste the googly eyes.

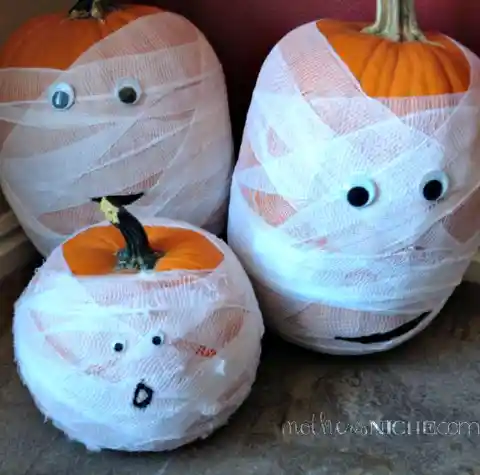
Now you have an exclusive mummy that only returns every October 31st.
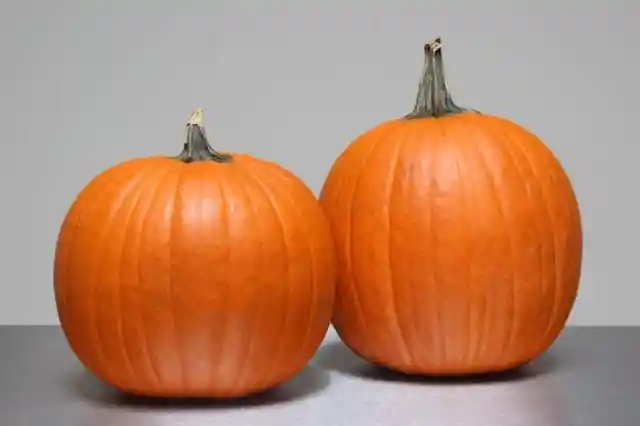
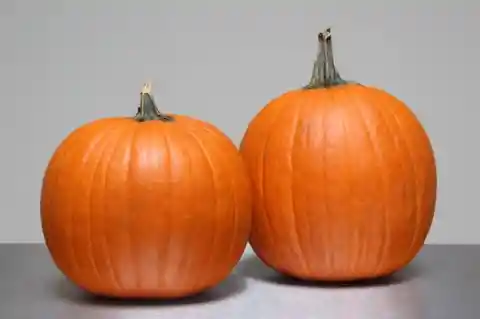
A snowman, but made for Halloween. Grab three pumpkins and arrange it by size.
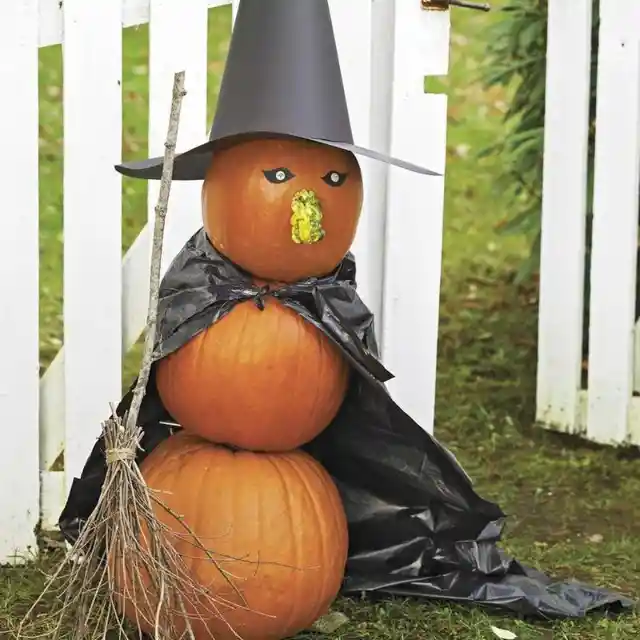

All you need is a witch hat, buttons, a black marker pen, a gourd for the nose, a broom, and a trash bag for the cape!
Feeling EXTRA-terrestrial? Go get one large sized and few tiny pumpkins.
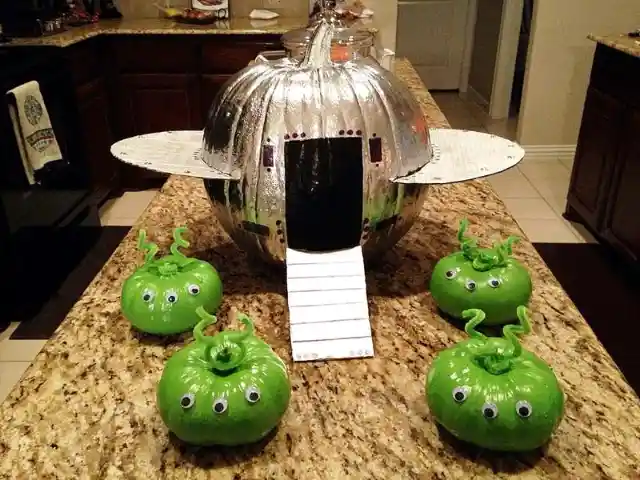

Use a tin foil, a green paint, a black marker, googly eyes, cardboards, and fuzzy wires. Then let the neighbors storm your yard like it’s Area 51.