We heard you, Halloween is already around the corner and you still got a bunch to do! But do not worry… We got some tricks for making last-minute Halloween treats (no baking required) --- by customizing sweets found at your local supermarket!
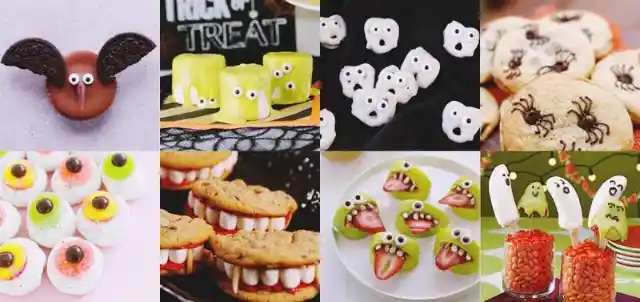
And it only takes 5 MINUTES to bring these killer goodies to life!!!
Chocolate coated cupcakes, oreos, and candy eyeballs --- It only takes 3 ingredients to make your Halloween presentation extremely #fly. INGREDIENTS: Oreas. Reese’s. Edible Eyeballs. Remove the oreo fillings and crack it half.

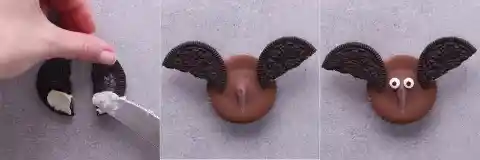
Use small portions of filling to paste the oreos on the cupcake as wings. For the final touch, place edible eyeballs on the cupcakes. But if you’re feeling cute today and want baby bats, use Reese’s Peanut Butter Cups instead of cupcakes. Next is a wickedly cute monster that is pinterest-worthy!
Grab green Wilton Candy Melts, white marshmallows, and candy eyeballs at your nearest Target! Scoop the melted candies and fill on top of the marshmallows. Place as many eyeballs as you want and let it naturally fall from the dip. There you have it!
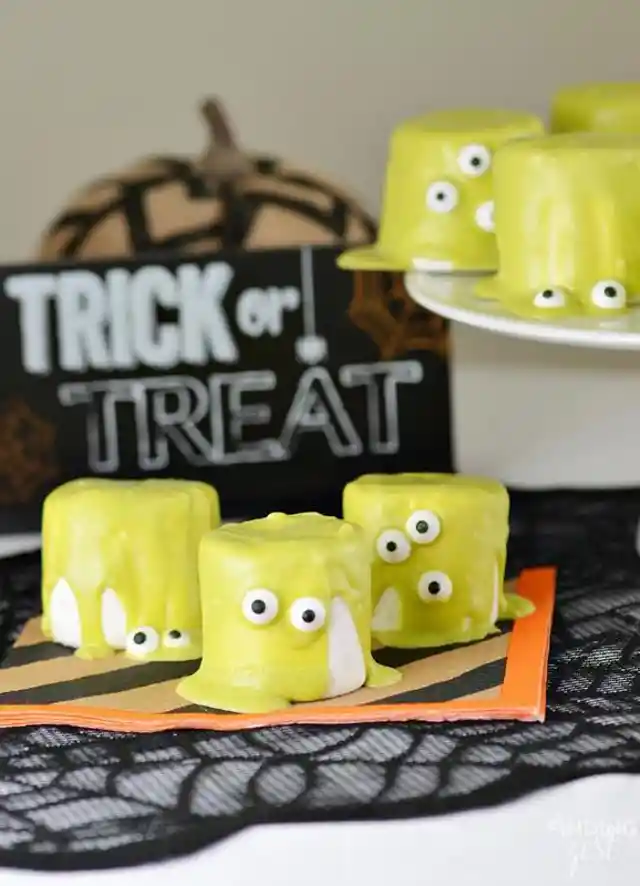
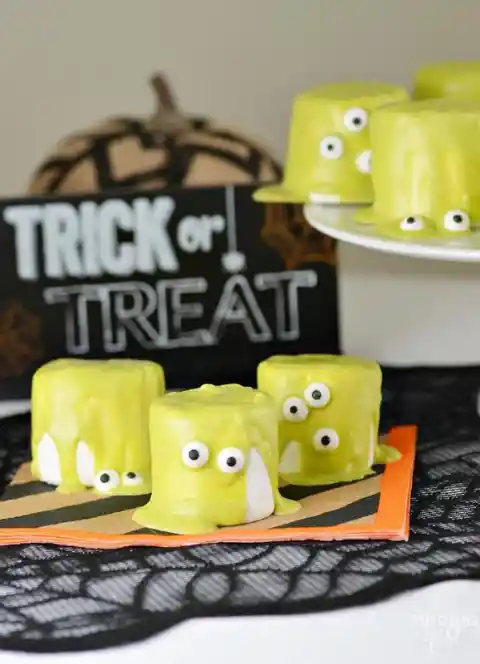
An oozing monster that took form from your marshmallows. But guess what?! You don’t need to waste your extra candy melts... Here’s more you can do:
Take out pretzel sticks, almonds, and your leftover melted candies. Dip the pretzel sticks into melted candies and place almonds at the tip. To complete the finger look, create a wrinkle line on center using a fork.


Now you have the scrawny (but yummy) ogre fingers! Grab it before it grabs you! Now… take a look at these “oh so delicious” pretzel ghosties!
Melt white chocolate and dip the pretzels. Cover the two top holes of the pretzels with edible eyeballs.
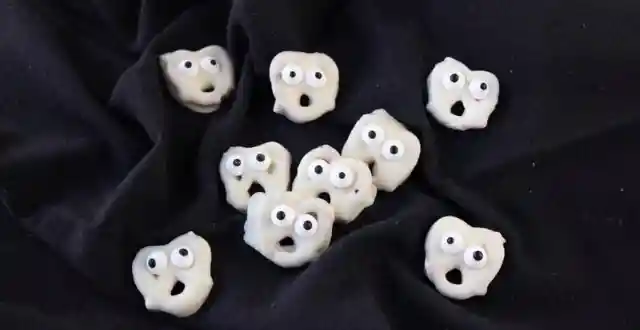
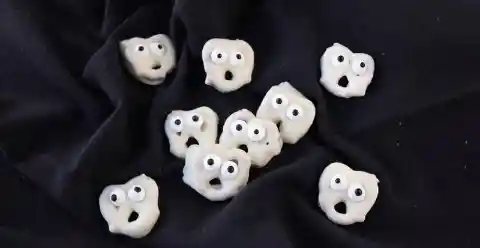
Then look at your ghost cause it’s now **screamingly** adorable! You probably have white chocolate leftover… here’s what you can do next>>>
You will definitely go nuts when you see a mummy! With your extra melted white chocolate, dip your Nutter Butter biscuits. Place one edible eyeball on each of the biscuits. Grab a resealable plastic bag and fill it with the melted white chocolate.

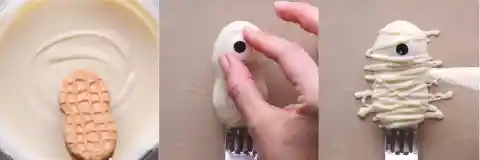
Then snip a small hole at the edge of the bag. Squeeze and use it to make lines like a mummy wrap. Next… find out how to make treats that will SWEEP you away in just two steps!
Here’s the easiest one! You only need Reese’s Peanut Butter Cups and pretzel sticks. Insert the stick into the bottom center of Reese’s Peanut Butter Cups, and be careful not to press too hard because the stick will easily break.
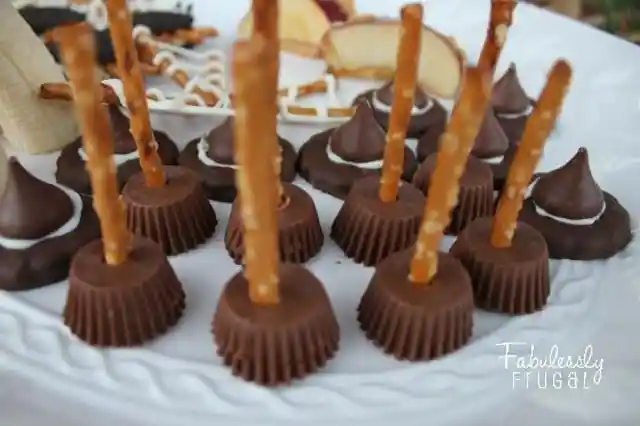
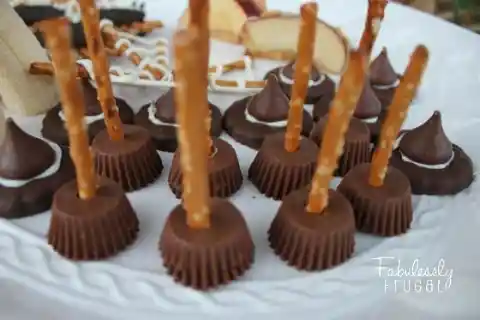
(Also don’t ride on it!) See a terrifying yet terrific decoration for your favorite chocolate chip cookies on the next page >>>
Grab your favorite chocolate chip brand and your extra chocolates from your refrigerator. Melt the chocolate and fill it inside a resealable plastic bag. Cut the edge of the bag. Use it to draw spiders on the cookies as if the cookie is infested.
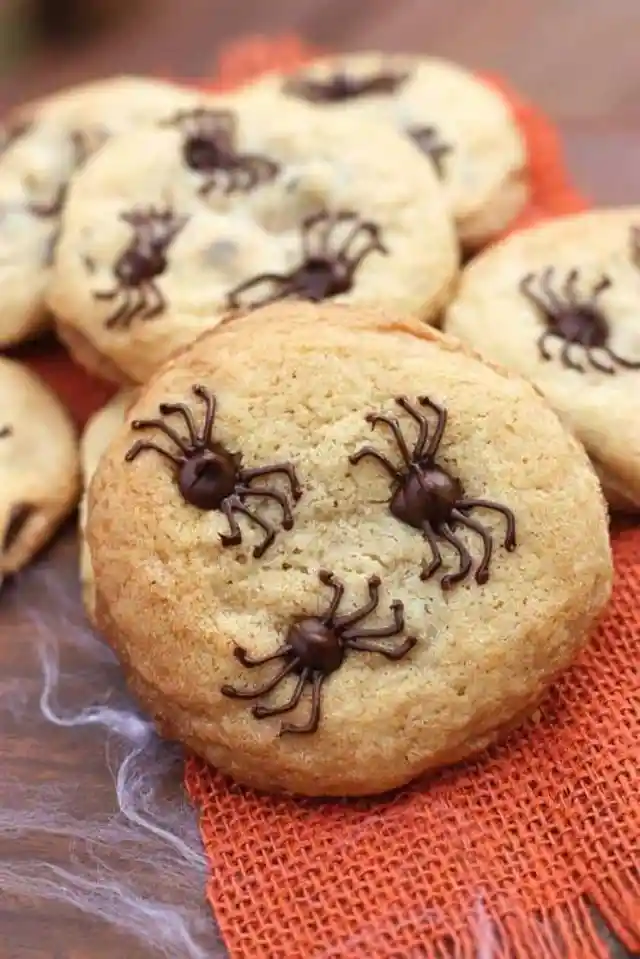
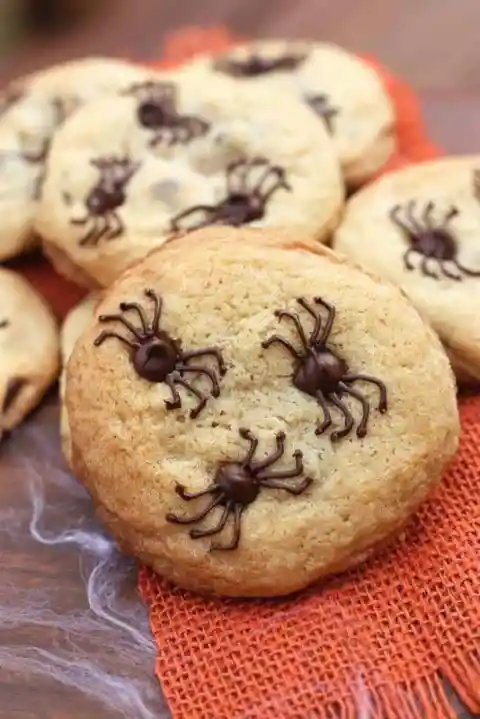
But don’t worry. These spiders don’t have venom --- only sugary goodness! The treats up next are impossible to unsee...
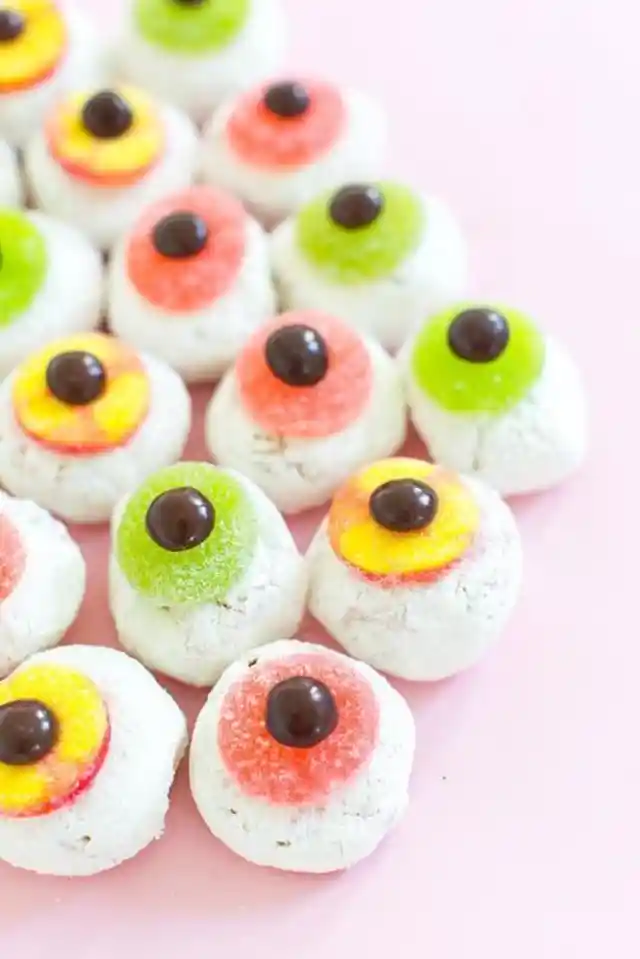
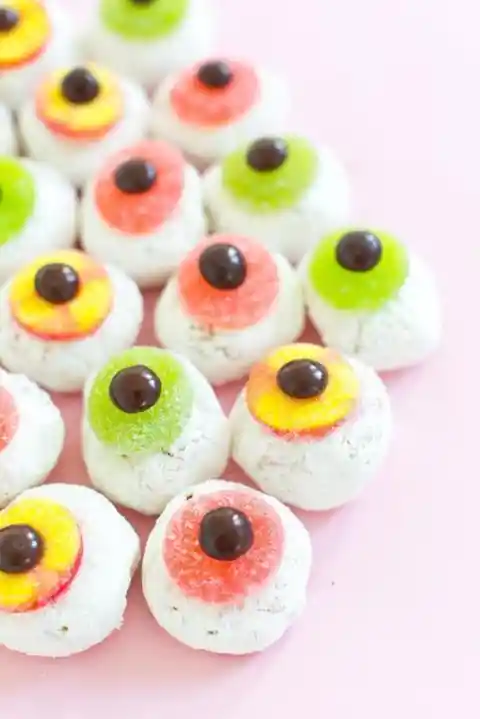
You only need mini powdered donuts, sour gummy rings, and M&M’s. Stack the sour gummy rings on top of the donuts first, then M&M’s after. There you have it, Monsters’ Eyeballs --- one look at it and you’ll be drooling.
It’s time to level up your display on the food table... BEHOLD the next pages for more mouthwatering Halloween snacks!
You’ve mastered the 5-minute treat… now let’s take it up a notch. These next FREAKISHLY GOOD treats will take only 10-15 minutes to prepare.


But don’t fret! Because it’s still as easy as waving a magic wand!!!
What you only need:
- Your favorite chocolate chip cookies
- Premade vanilla frosting tub
- Red food coloring
- Mini marshmallows
- Slivered almonds
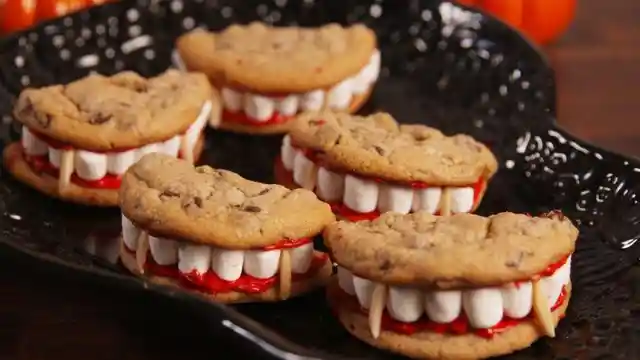
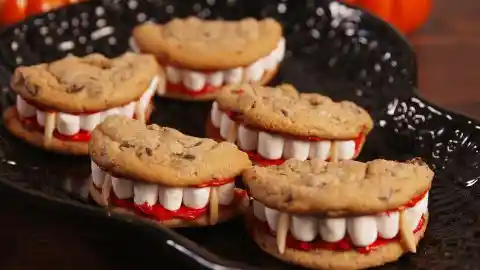
Get your vanilla frosting tub and red food coloring. Add 3-4 drops of red food coloring to the vanilla frosting tub. Stir until the whole frosting is red.
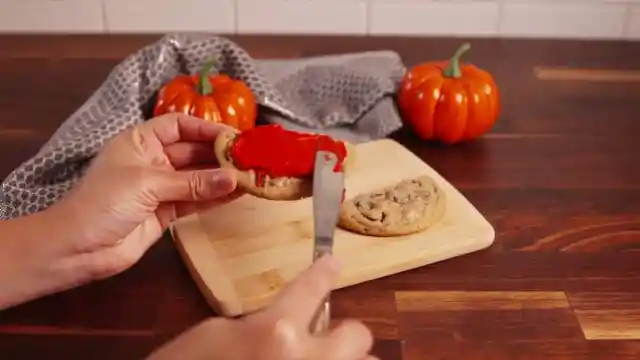
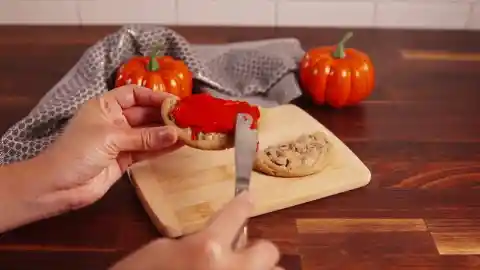
Cut your chocolate chip cookies into half. Then scoop the red frosting and brush on top of your cookies. Next is really a genius idea…
Place your mini marshmallows on top of the cookie with red frosting. Then as if it’s a sandwich, close it with another red frosted cookie.
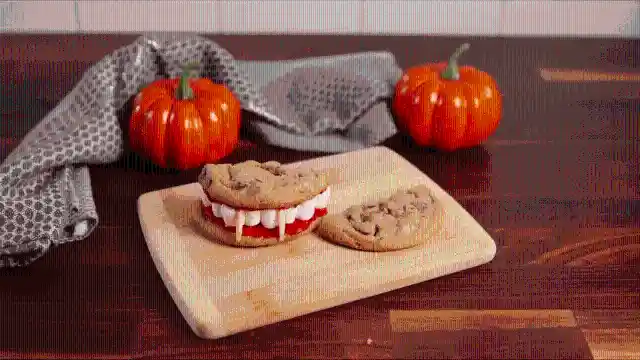
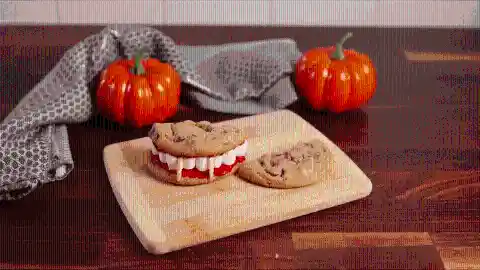
Now insert two slivered almonds for the fangs! Next is a true party hit -- treats on a stick.
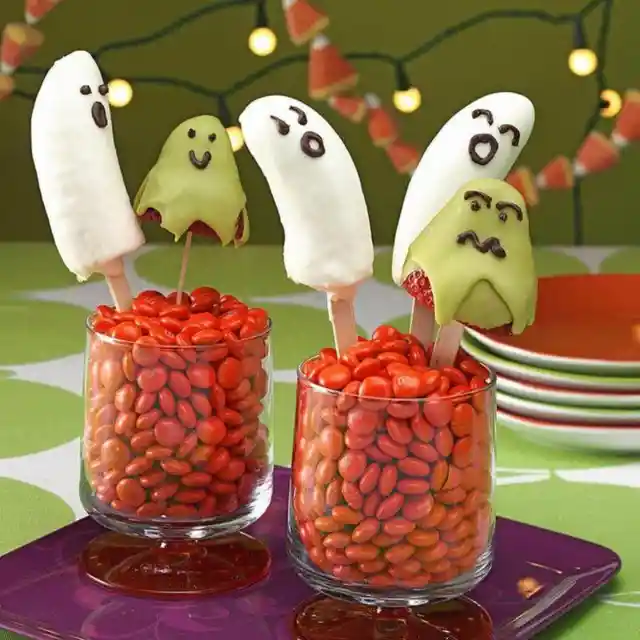
What you only need:
- Melted white chocolate
- Melted chocolate
- Green candy melts
- Bananas
- Strawberries
- Popsicle sticks
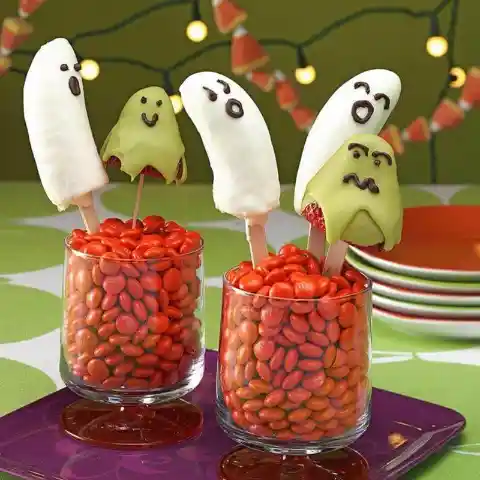
Insert sticks to your peeled bananas and dip it into melted white chocolate. For strawberries, insert sticks as well. Then dip the strawberries into the green melted candies. FUN PART: Use the melted chocolates to draw faces on the dipped bananas and strawberries.
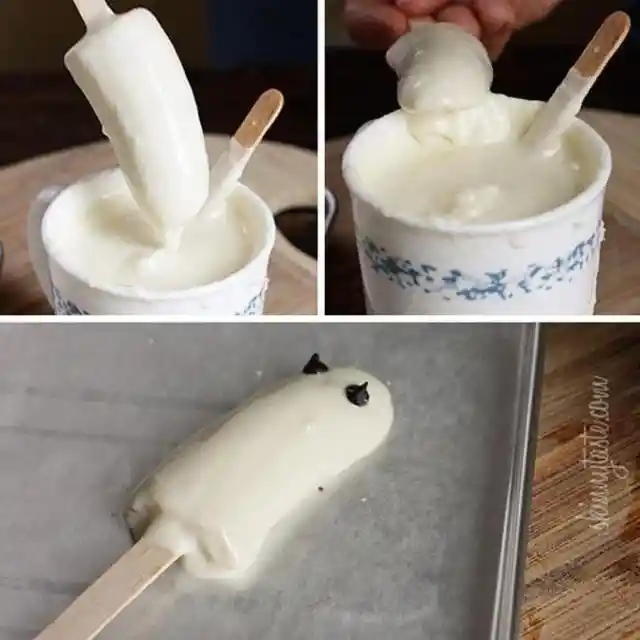
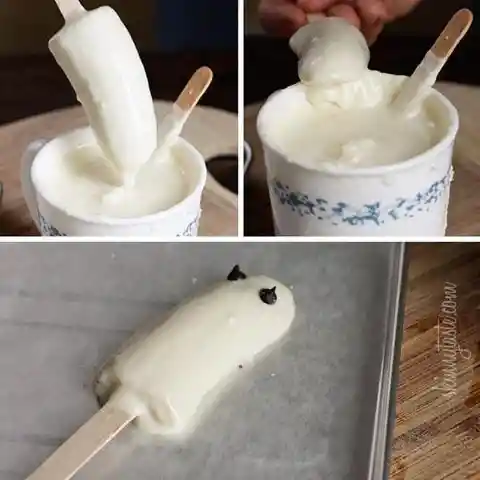
Then freeze for 10 minutes.
You’ll be BEWITCHED by the next hack idea!
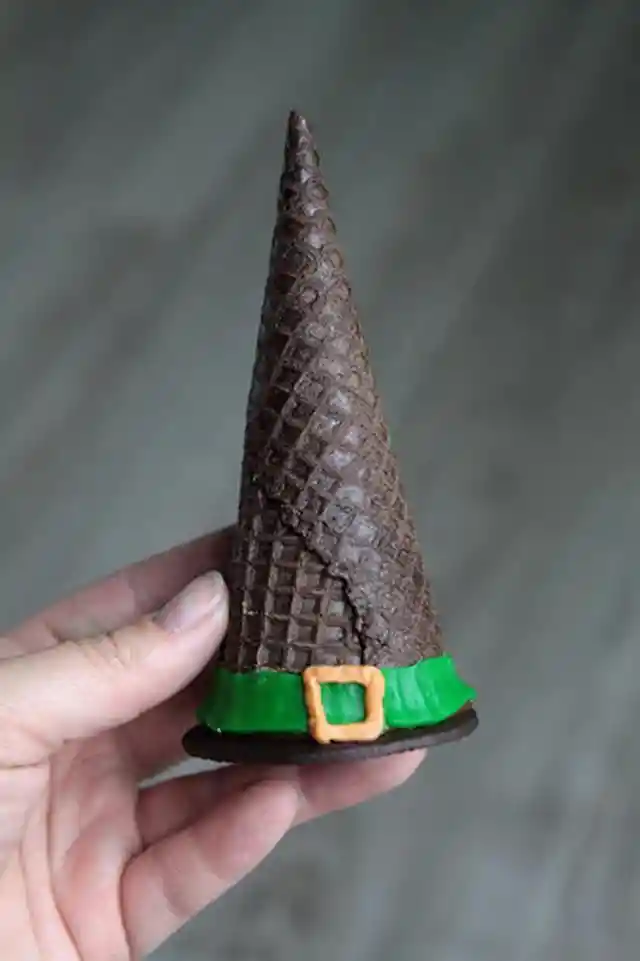
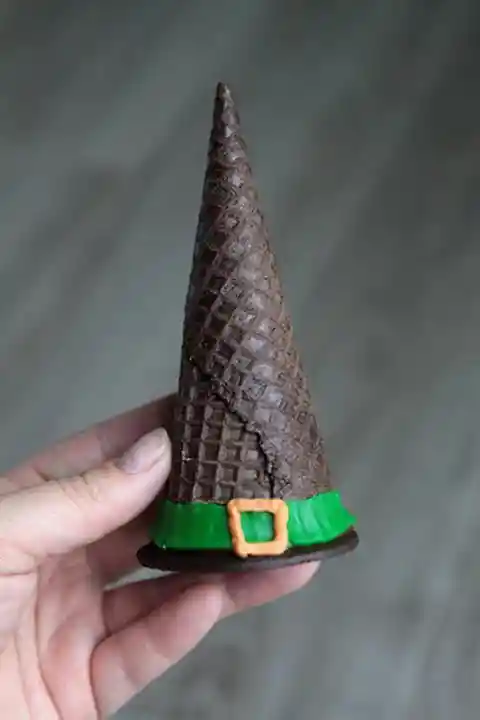
What you only need:
- Chocolate ice cream cones
- Chocolate wafers
- Ready made green icing
- Melted chocolate
- Melted butterscotch chips
- Various candies (chips, M&M’s, etc)
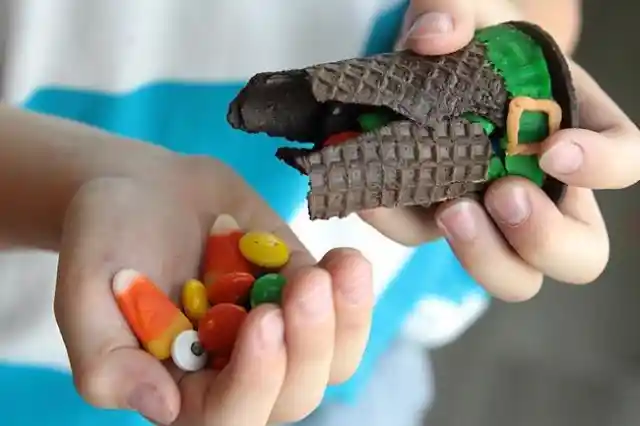
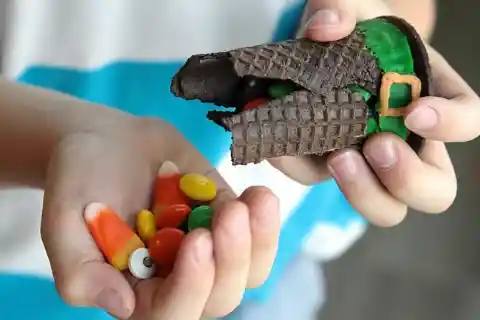
Grab your available candies around your house. Fill those candies inside the ice cream cones.
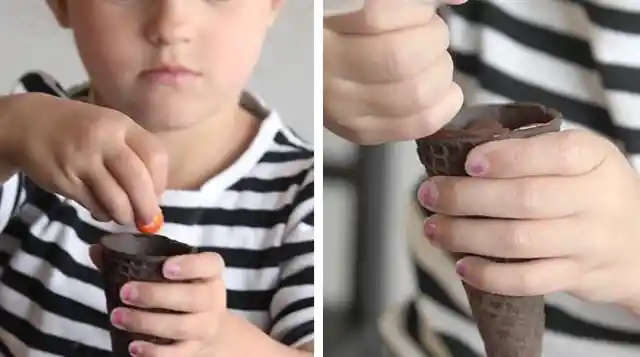
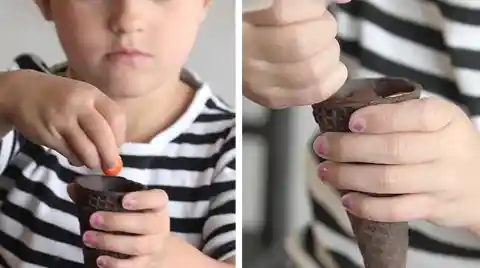
Then squeeze the melted chocolate around the circular edge of the cones. Close it with a chocolate wafer. This might look simple from the outside, but inside is the MAJOR surprise!
To secure and harden the melted chocolate, freeze the witch hat for 5 minutes. With green icing, draw a ribbon around the cone and add details using melted butterscotch chips. Then serve.
**SURPRISE!** Who says you can’t enjoy Halloween treats just because you don’t eat sweets? Say no more! The next page is absolutely gluten-free!
What you only need:
- Green apples
- Sunflower butter
- Strawberries, sunflower seeds
- Edible eyeballs
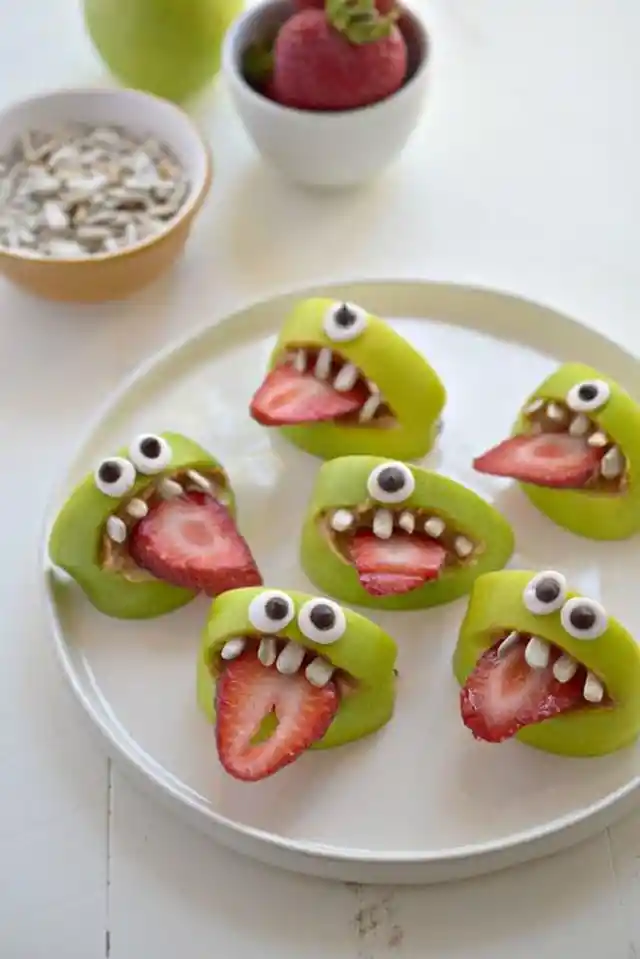
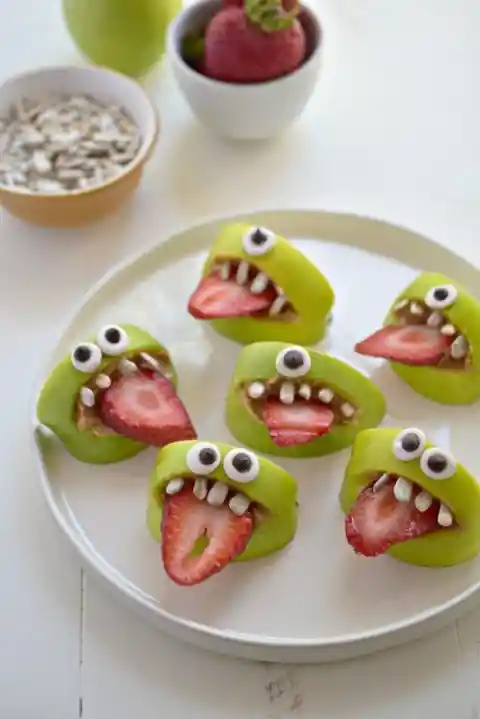
Cut the apples into quarters. After that, cut the middle to create a mouth. Fill the mouth with sunflower butter. Then place sunflower seeds to form teeth.
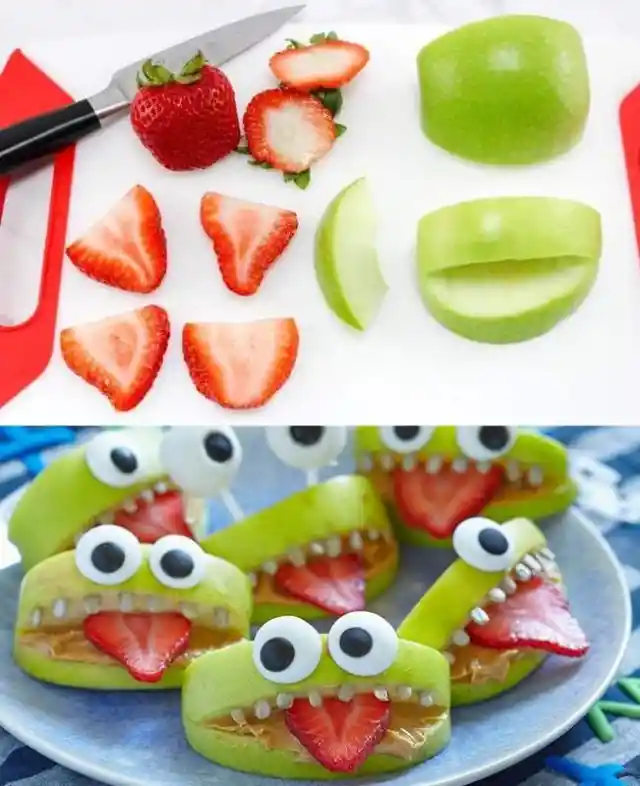
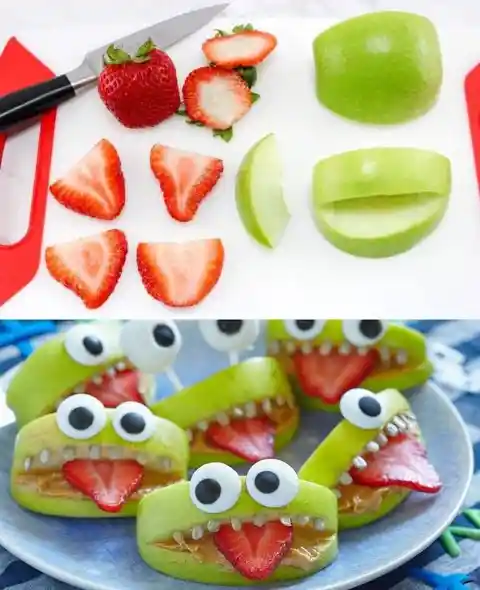
For the tongue, insert a slice of strawberry in between. Use the sunflower butter again to hold the edible eyeballs. VOILA! A healthy yet tasty treat!