Essential Oils
Does your car look and smell so horrible that you’re embarrassed to have friends ride with you? Do you wish you had that new-car smell and shine? Have you considered taking it in for detailing? Chances are that like many of us you practically live in your car, which can get pretty grimy from all those fun roadtrips (with the dogs) and stops for burgers at the drive-in.
Even those of us who just use our cars to commute to work and back need a deep cleaning. The good news is you don’t need to pay someone else to get your car clean. You can get your car in tip-top shape in no time — all by yourself!
Don’t waste money on car fresheners that smell awful and look even worse. Instead, grab some wooden clothes pins and sprinkle a few drops of your favorite essential oils (lavender, rosemary, frankincense, etc.) on top. Attach the clothespin to your vent.
Iron
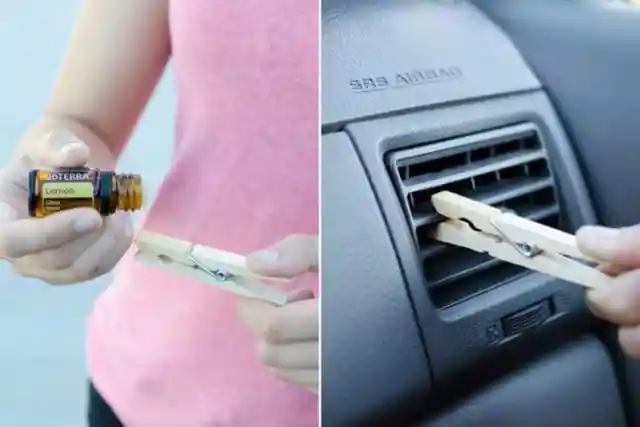
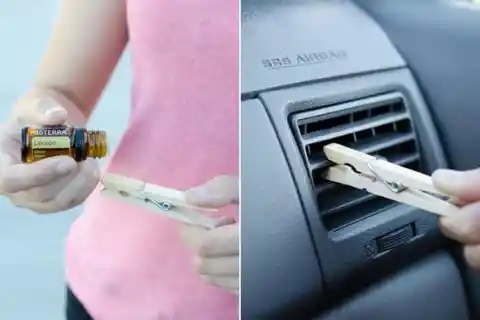
Each time you turn on the heat or air conditioner, your car will smell incredible.
Did you buy beautiful candles that you left in the car? Oooh, what a mess! Or, if you have kids chances are there are crayon stains and melted wax in your car because… well, coloring. All you have to do to get out the waxy crayon is to iron a piece of paper over the upholstery and it’ll pick it right up after it gets hot!
Olive Oil
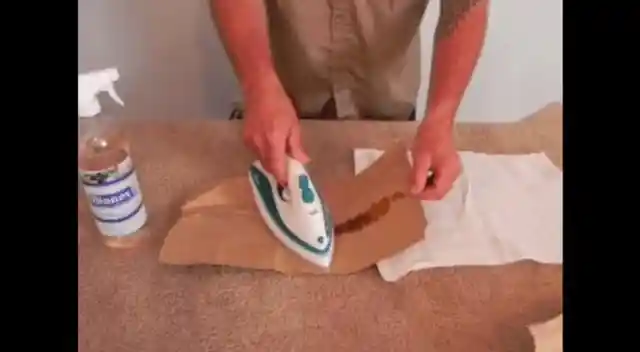
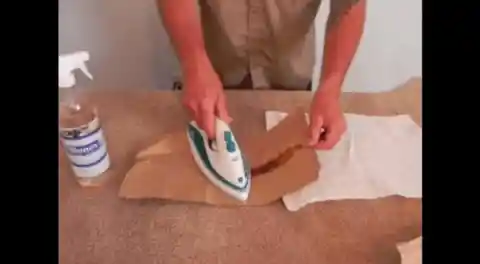
The trick is getting close enough to an electric outlet if you have smudged in crayons on the flooring. But — if there’s a will, there’s a way!
This might come as a surprise to some, but olive oil is actually a great tool for cleaning leather seats. Keep in mind that overusing it will make your seats greasy to touch, so use with caution. You may want to wash with soap first.
Powder Cleaners
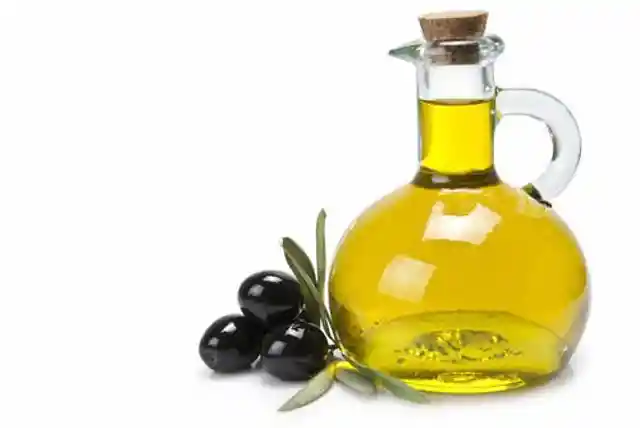
Next, you want to get into the texture of your leather or leatherette interior using the oil. Always wipe dry afterwards.
Regular old bleach powder can help you do your own detailing like a pro. Choose a brand like Bar Keeper’s Friend, Clorox or Bon Ami, which are the toughest. Take a cloth or towel, sprinkle some on and lightly spray some Lysol onto the powder.
Foam Brush
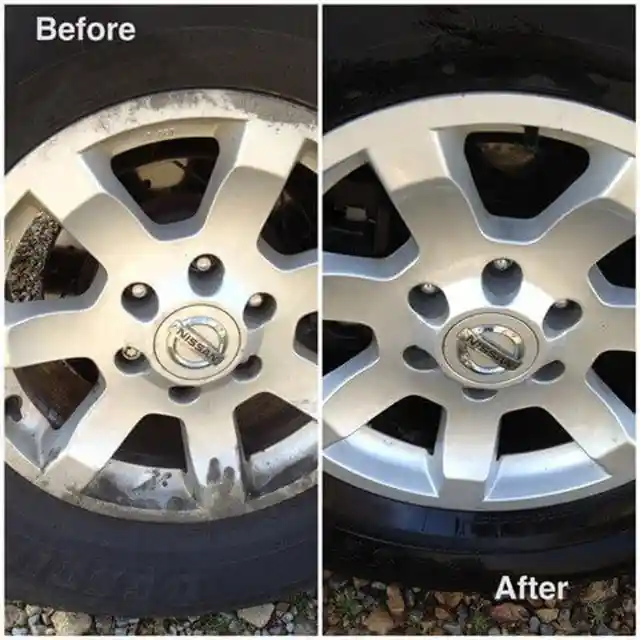
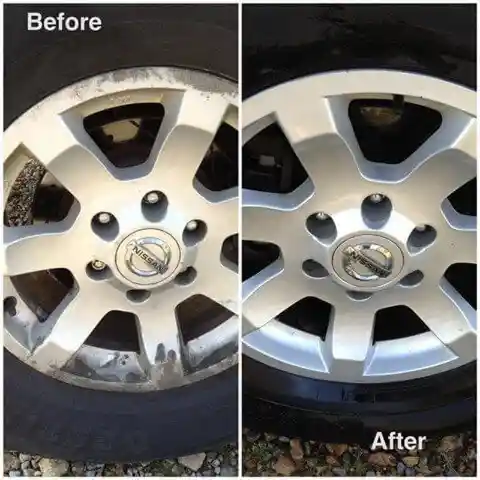
Now, work in that magic and keep adding more powder until your tires sparkle. You may have to scrub quite a bit, but your wheels will look amazing afterwards!
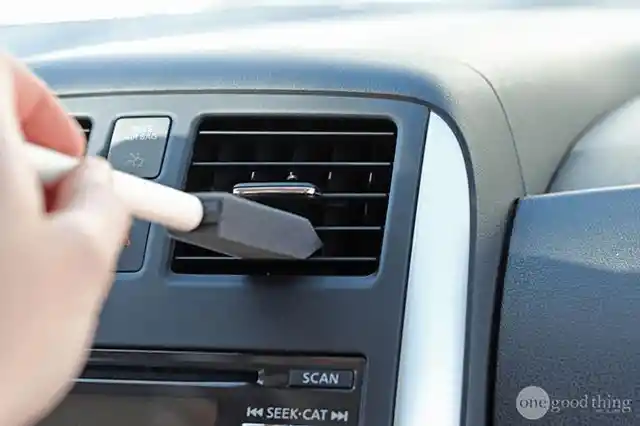
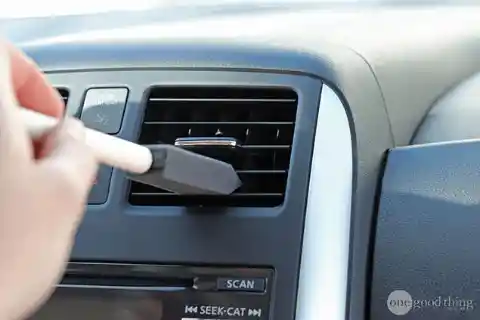
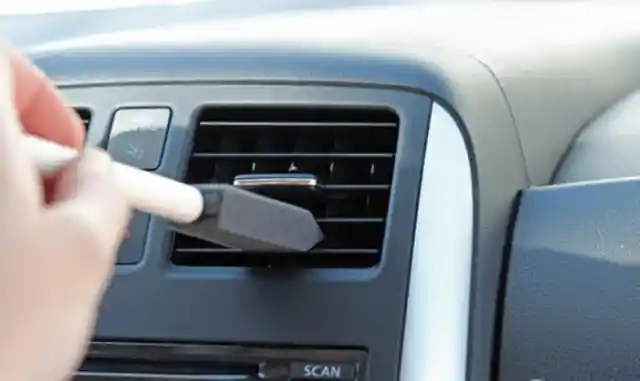
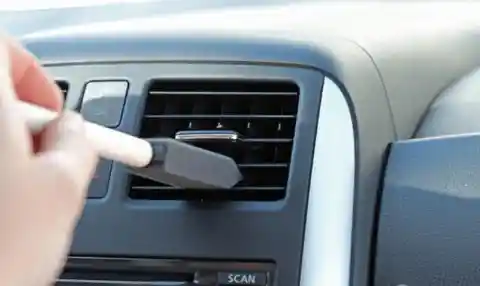
Foam brushes are great for putting on the finishing touches while painting, but you can also use them to brush out your AC vents and other tough to reach spaces. The foam will easily cling to dirt and other particles, making it a great tool to use when cleaning.
Dryer Sheets
Nothing is worse than trying to clean your car from dried up bugs after a long trip. You can, however, make this task easy by using some wet dryer sheets to remove those pesky buggers.
Toothbrush
If your dashboard is starting to look a bit grimy then you can use an old toothbrush to get really deep in there and get every little bit of gunk out. When you’re done, save your toothbrush so you can use it again in the future. Use the toothbrush to wash every inch of your seats and backrests too.
Toothpaste
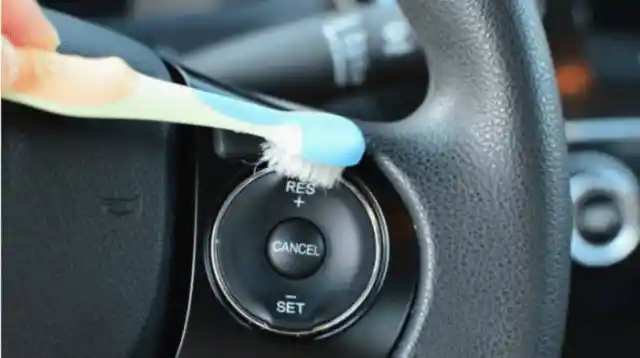
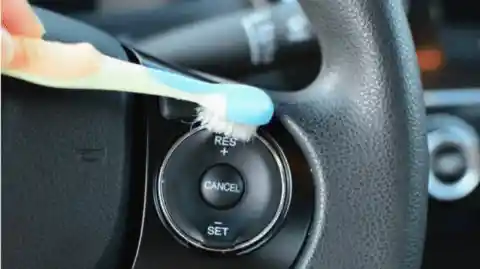
You’ll be shocked by how much dirt is embedded in your seats.
Besides using a toothbrush to clean the tapestry, you can use some toothpaste to clean your grimy headlights. Just spread some on the lamps, give it a few minutes and wash it off. Your lights will shine brighter than ever before.
Windows
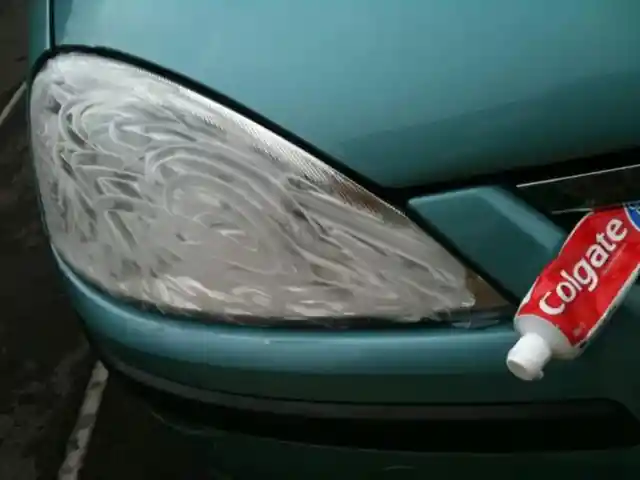
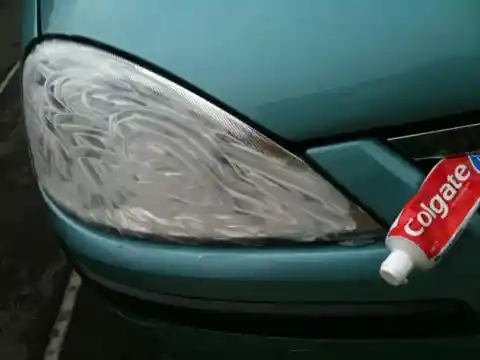
This is a tried-and-true trick we love!
When washing passenger windows many people forget to clean the very top. To get all of the gunk, roll the window down just a bit and work your way down.
Little Cracks
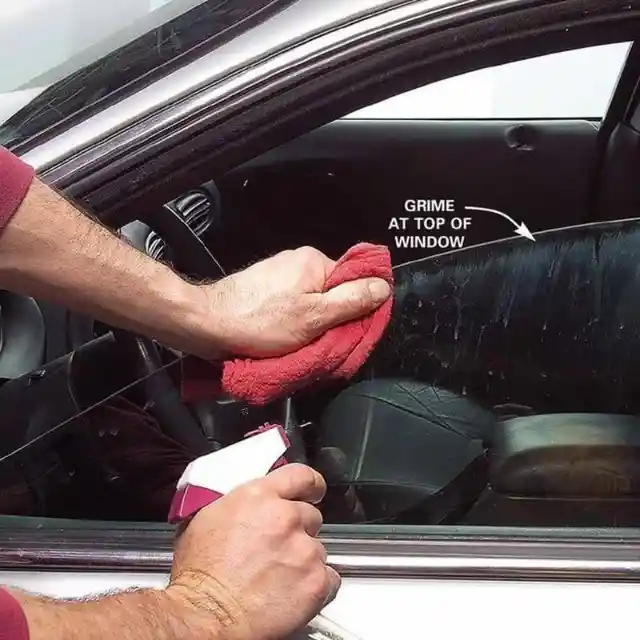
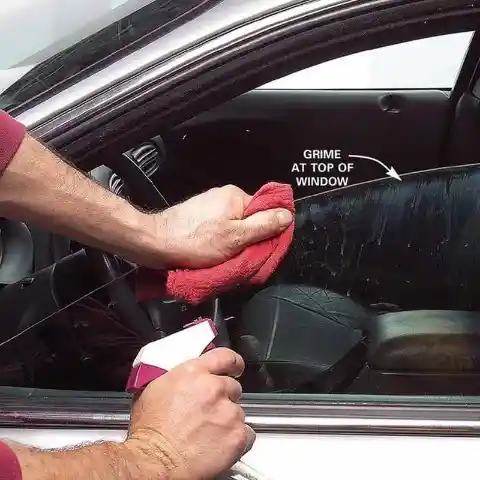
This approach will lead to clean and shiny windows.
To get into the nooks and crannies of the armrests and such, you’ll need to use a pointy tool — a screwdriver works best. Grab a flat end screwdriver, cover it with a thin cloth and work away.
WD-40
Regret putting those bumper stickers on your new car? Don’t worry, with the help of WD-40, you can remove even the most stubborn of decals.
Rubbing Alcohol
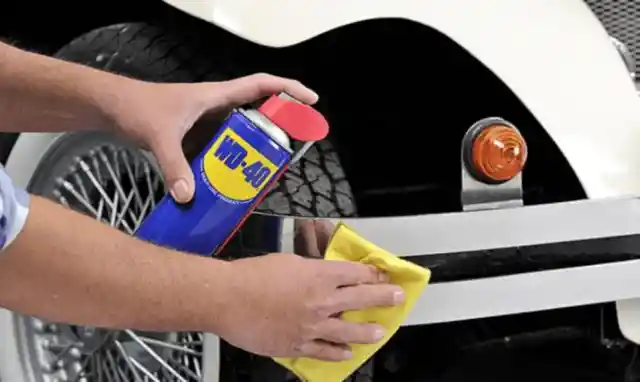
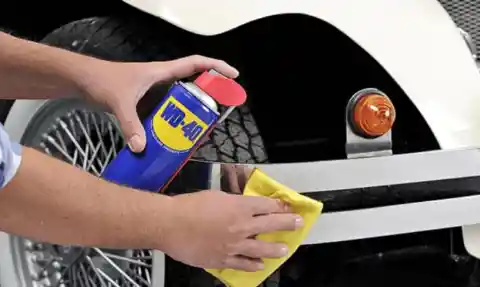
Just spray some WD-40 directly on the sticker, allow some time to soak, then pull it right off.
Slimy windshield wipers are the worst. Replacing them all the time is way too expensive, so what to do when your wiper smears water across your windshield and leaves awful streak? To remedy this common problem, wipe down your wipers with generous amounts of rubbing alcohol and let dry.
Clay Bar
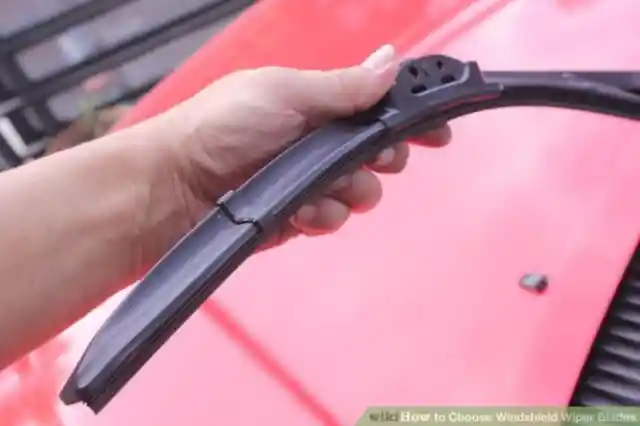
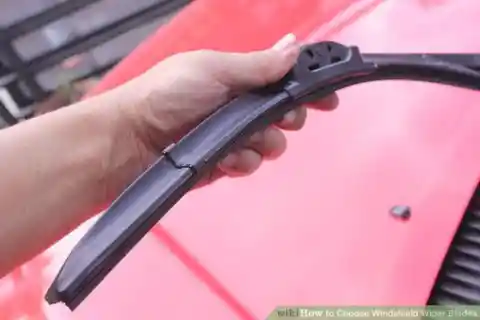
You’ll have to replace them regularly still, but this will lengthen their shelf-life.
You can find clay in any toy store or children’s section of any store. But clay bars made especially for cars are available on many websites, including Amazon. These are reusable and cheap: One bar may run you as little as $4!
Hair Conditioner
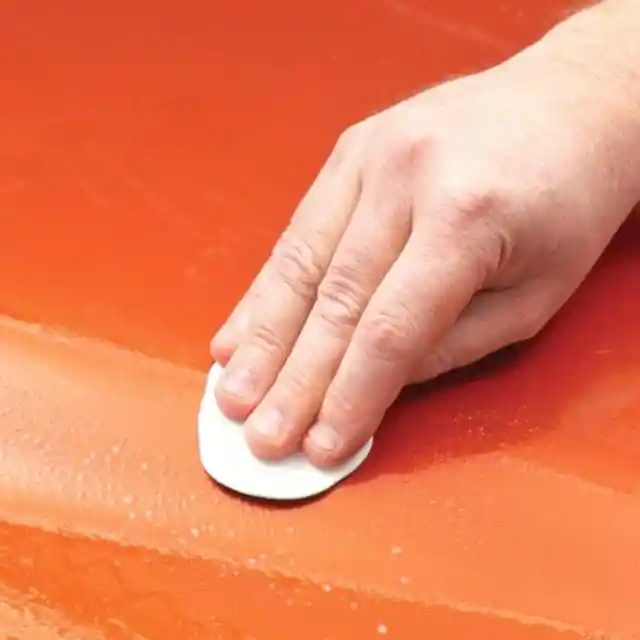
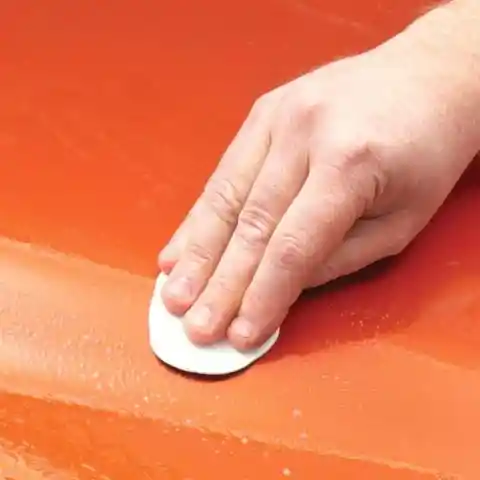
You’ll never believe how wiping down a wet car with one of these can bring on so much shine!
Another great alternative to waxing your car and getting a comparable shine is using hair conditioner. Just as that gooey stuff can make your hair look shiny, it can do the same for the paint on an automobile. Just make sure you choose a brand that contains lanolin, which is the magic ingredient that gives a waxy finish.
Gooey Cleaning Slime
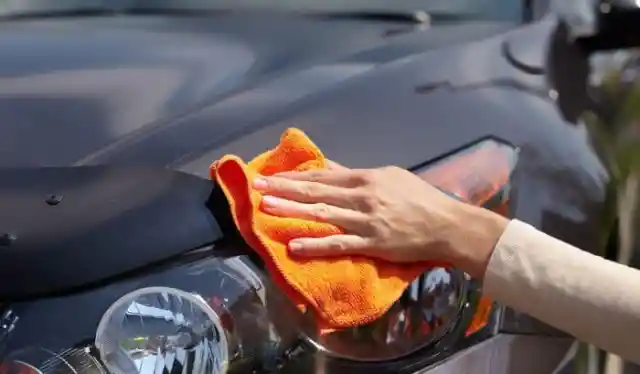
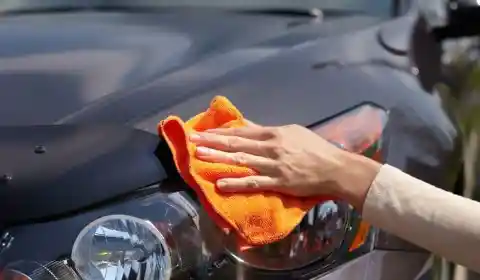
Just pour some into a towel and work it in in circular motions until your car is shiny like new.
Yes you read the title correct. Feel like you’re in kindergarten again when you clean your car with this sticky cleaning slime. You can go two ways with obtaining this fantastic cleaning solution, either buy some online or make it yourself.
Vents
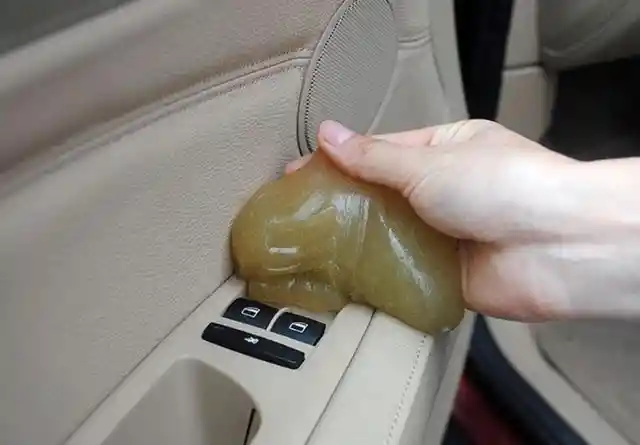
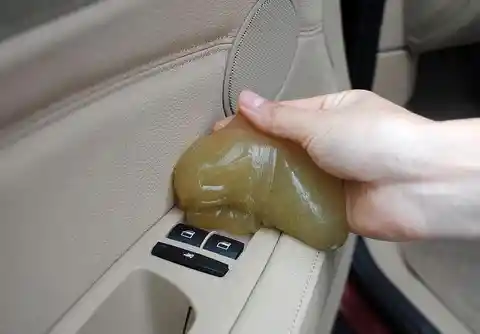
Making it yourself is pretty easy and anyone can do it! Simply mix 1/2 cup of liquid starch, 4oz bottle of Elmer’s glue, and 1/4 cup of water to finally enjoy cleaning your car for once.
This is actually worse than it looks! If your car smells awful and you don’t know what it is, it just might be that you need to replace the vents or at least clean them. Before cleaning, always check for mold which is more troubling than a foul odor and can cause respiratory problems.
Vodka
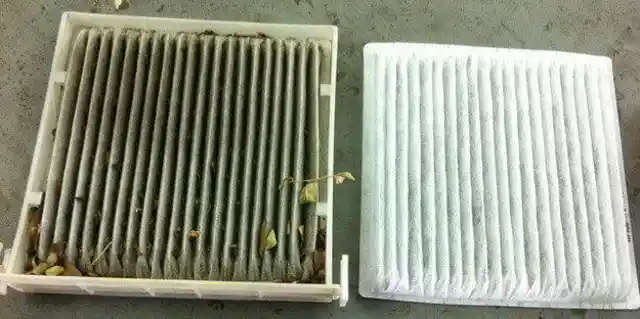
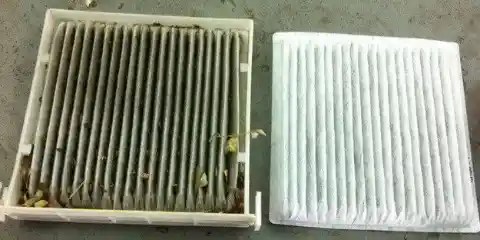
If it is indeed mold, you must replace them. Otherwise, clean vigorously and use Q-tips to get into the crevices.
Windshield wiper fluid is not the only thing that’s resistant to frost. Here’s a homemade recipe that won’t freeze and will make your windshield sparkle like diamonds: A few drops of Castile soap in good old vodka! You don’t need the expensive stuff.
Kerosene
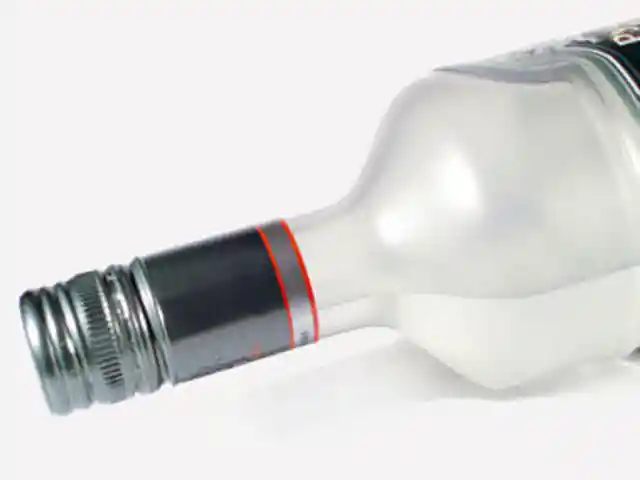
In fact, buy the cheapest you can buy. Just don’t leave the empty bottle in the car afterwards.
No, we’re not trying to blow up your ride. A solution of kerosene and water makes for the perfect no-wax shine treatment imaginable. Once you douse your car in it, just wipe dry.
Q-Tips
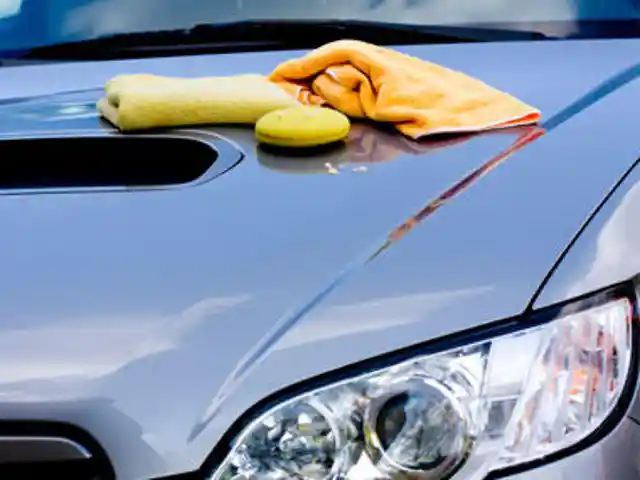
The sheen that’s left behind even repels rain. Obviously, avoid smoking while shining up your car.
When you do your own detailing, Q-tips are indispensable tools in getting deep into crevices. They sop up detergent and clean nicely.
Wash With the Right Suds
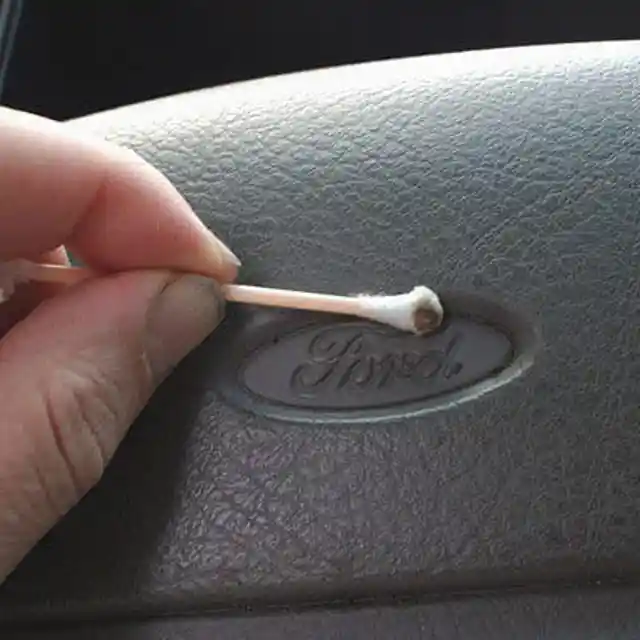
They even come in handy when cleaning out cup holders, where the crevices are hard to reach with a cloth.
Even though hand dishwashing liquid is a great degreaser, it's not the thing to use on your vehicle's finish. Yes, it removes dirt, grease and old wax. But it also sucks important oils right out of the paint's finish. Use it repeatedly and you shorten the life of your paint job.
Pluck the Finish
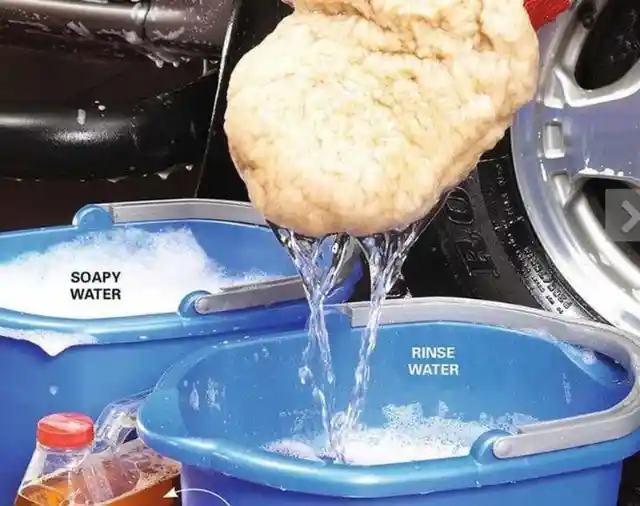
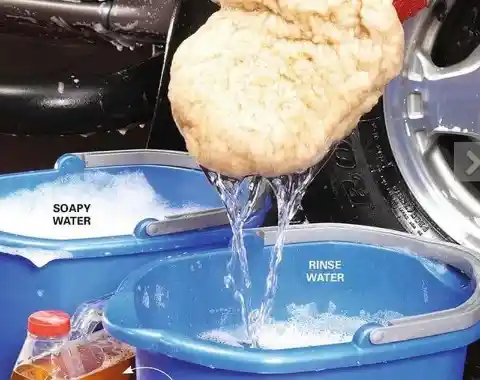
Instead of dish soap, use a cleaner formulated for vehicles (available at any auto parts store). Once you've mixed the suds, go one step further—fill a second bucket with clean rinse water.
A car hurtling down the road at 60 mph becomes a dartboard for any crud in the air. Your vehicle's clear coat deflects some of it but can hold the sharper grit. Washing removes the surface dirt, but clay-barring is the only way to pluck out the embedded stuff.
Polish the Finish
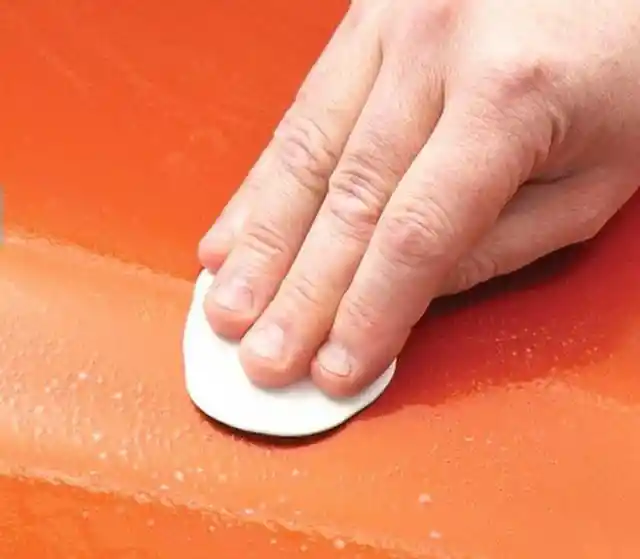
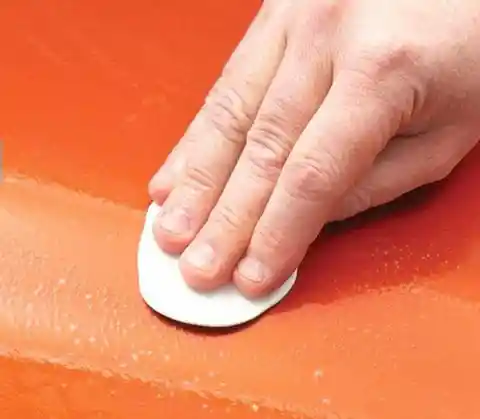
Buy a clay bar kit (one brand is Meguiar's Smooth Surface Clay Kit), which includes a lubricating spray and several pieces of synthetic clay.
Many car owners confuse polishing with waxing. But they're separate steps. Polishing removes small surface imperfections and scratches and buffs the finish to a shine. Waxing adds more gloss and protects the finish from the elements.
Get a Mirror Finish With Synthetic Wax
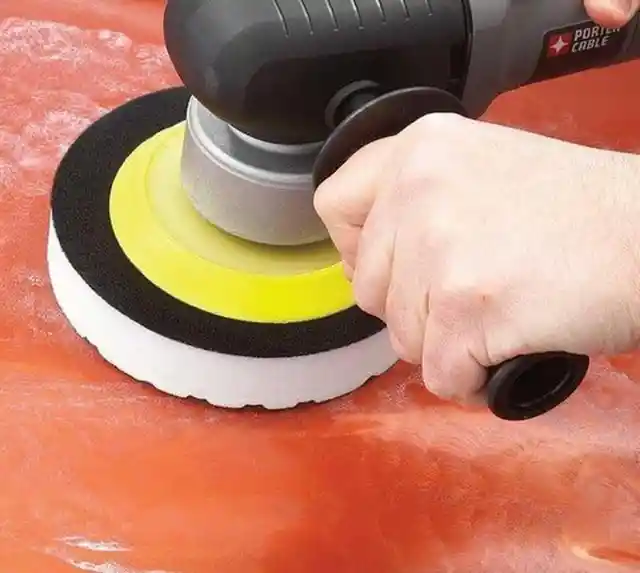
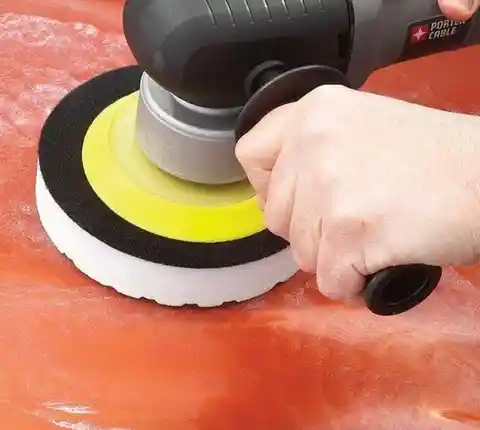
Most DIYers skip polishing because they don't want to invest the money for a polisher or the elbow grease for a hand polish. But polishing your vehicle's finish is the key to getting the best gloss (pros would never skip it).
Some people swear by carnauba wax. It produces a deep, warm shine. But we prefer the wet-gloss look of the newer synthetic polymer waxes (also known as paint sealant) such as Meguiar's Ultimate Liquid Wax. It's pricier than other synthetics, but it doesn't leave a white film on plastic or trim—which is a real advantage. Plus, it's really easy to apply.
Suck Up the Dust As You Go
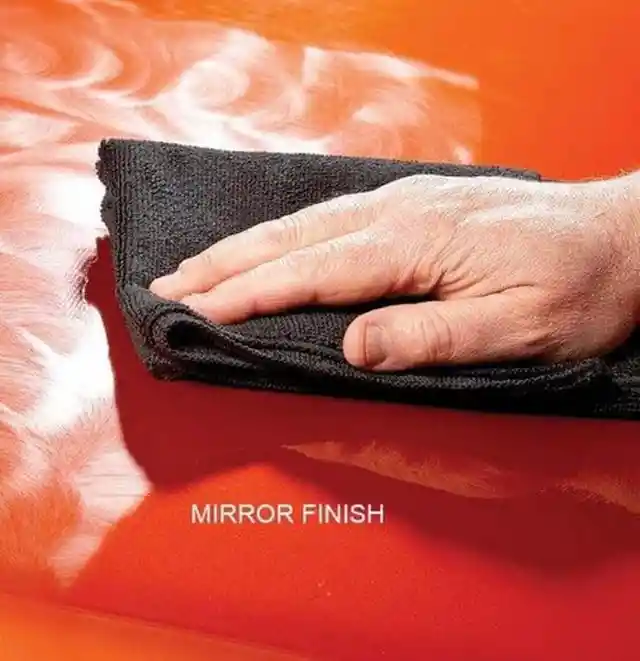
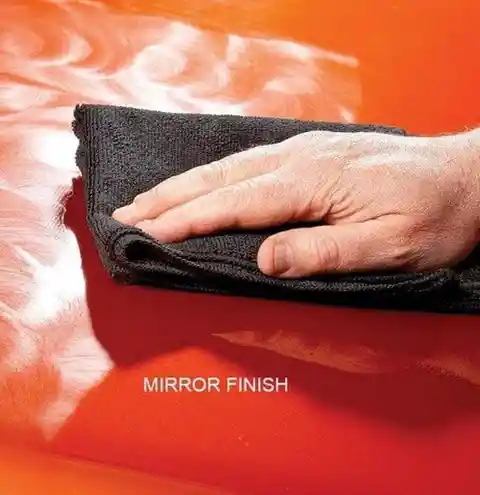
Apply the wax to the foam applicator and rub it into the finish with a swirling motion. Then wipe off the haze with a microfiber towel. Swap in a clean towel as soon as the first one loads up.
Most DIYers start cleaning the interior by shampooing the carpet. That's a mistake—you'll just get it dirty again as you clean the upper surfaces. Instead, start at the top and work your way down. Vacuum the headliner, dash, console and door panels. Then clean all the glass, and dust the nooks and crannies.
Destink the Interior
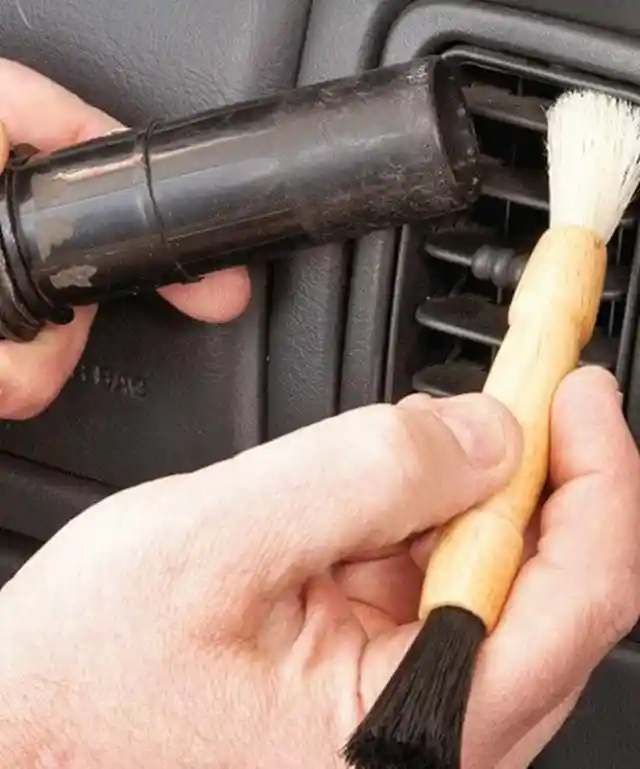
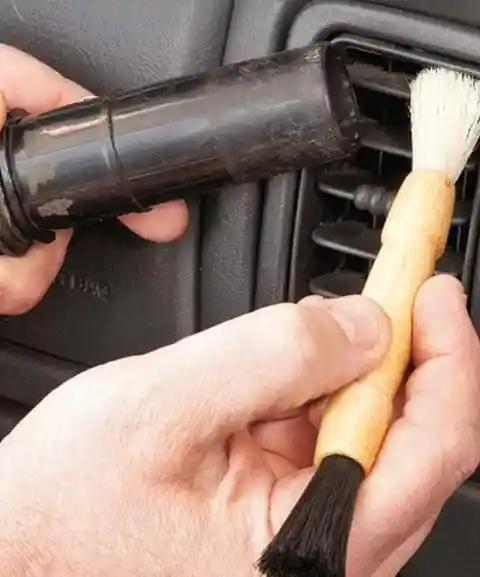
Sweep the dust out of the cracks with a detailing brush. Catch all that crud right away with your vacuum. Learn more about how to clean and restore your car's interior.
To neutralize tobacco smoke, buy an aerosol can of Dakota Non-Smoke (dakotaproducts.com). Holding the can 12 to 14 in. away from fabrics, lightly spray the headliner (don't soak it), seats, door panels and carpet. Then turn the fan to high and switch the system to recirculate mode (“max. A/C” if you don't have that option). Find the intake opening by holding a tissue near the blower motor.
Clean the Leather
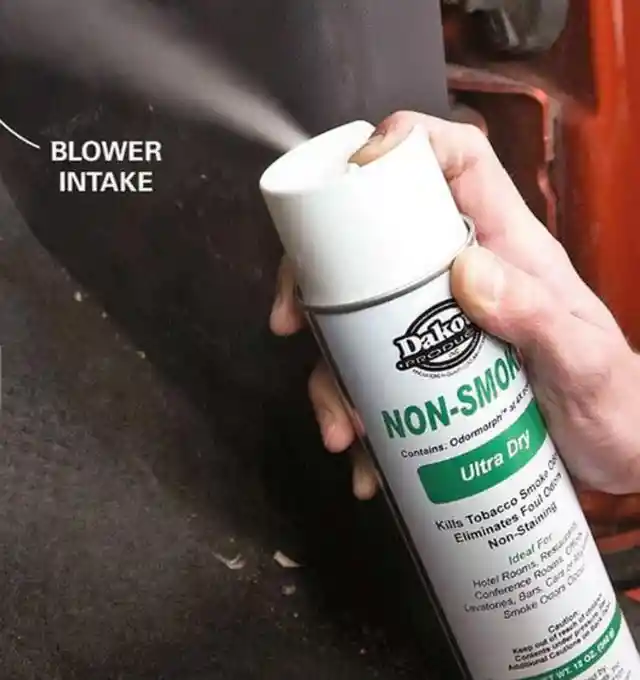
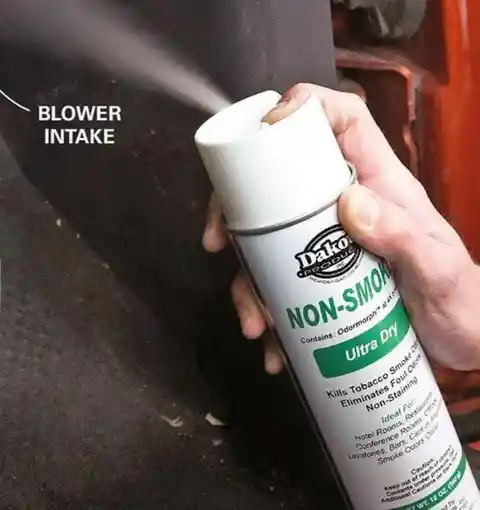
Then spray the mist into the opening. Leave the windows closed for at least one hour. Your vehicle will smell like baby powder for a while, but that'll go away. You can also change your car's air filter once this is done.
This may sound extreme, but if you've got leather upholstery, buy a leather-cleaning kit and keep it in the vehicle (one brand is Leather Master Leather Care Kit with Ink Lifter). Because, if you clean the oops right away, you really increase your chances of a complete cleanup. If you wait, lipstick, ink and dye transfers from clothing (and plastic shopping bags) can set permanently in as little as 24 hours. Pretreat the leather with a conditioner before you start the stain removal process.
Slide Seats Forward and Clean Out the Junk
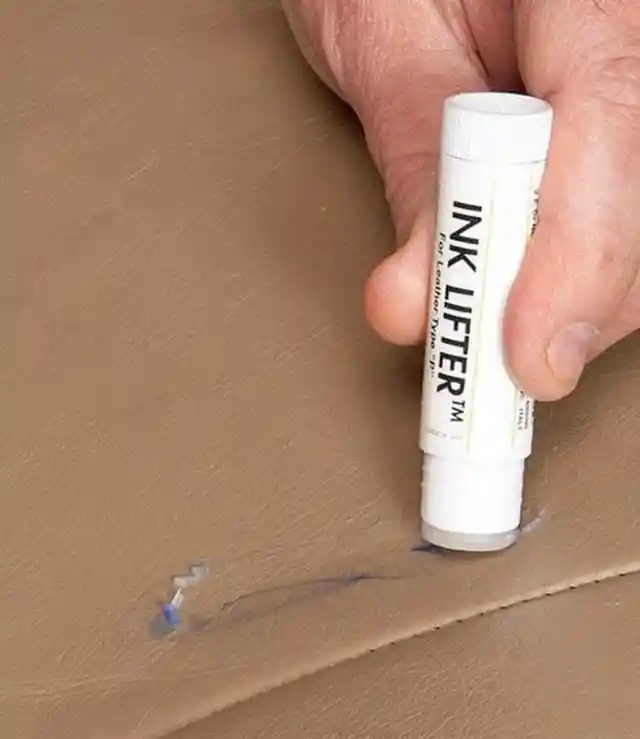
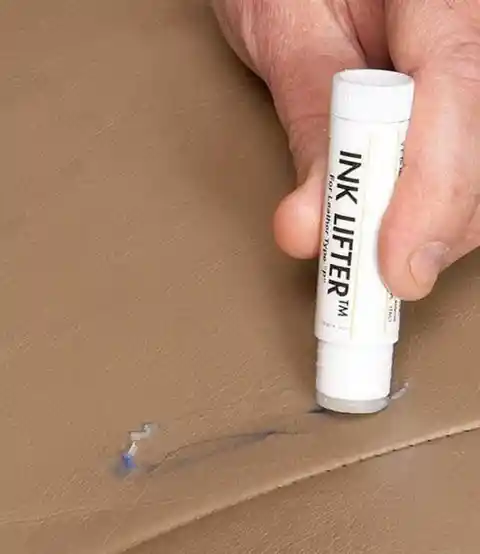
Wipe the ink lifter directly on the pretreated leather and rub it in. Let it sit for 30 seconds, and wipe it with a clean cloth. Then apply leather cleaner and the leather protection cream.
You'll be surprised by what you find behind the seats. We found a lost cell phone, enough pens and pencils to equip a small office, and enough change for several vending machine lunches. Vacuum the seats, remove the mats and vacuum the carpet. Use a brush attachment for the dash and door panels.
Deep-Clean Carpet and Upholstery
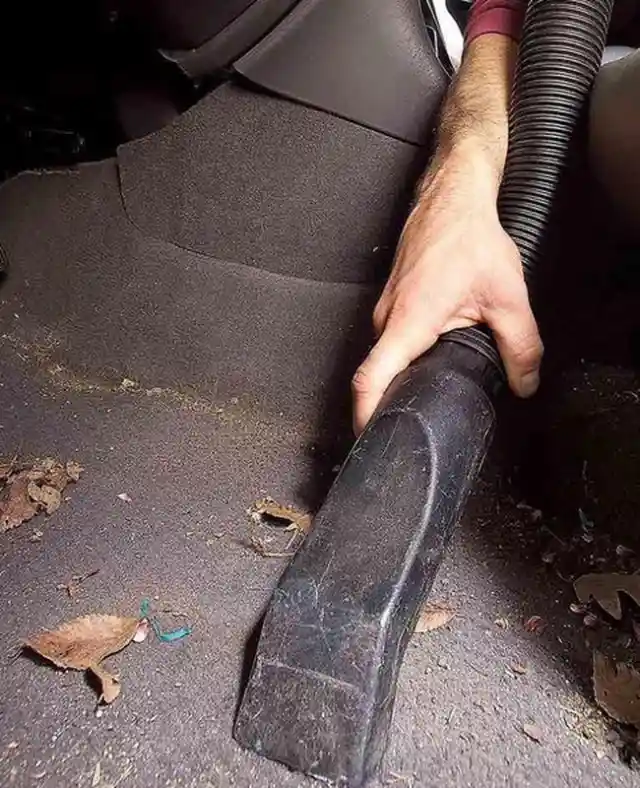
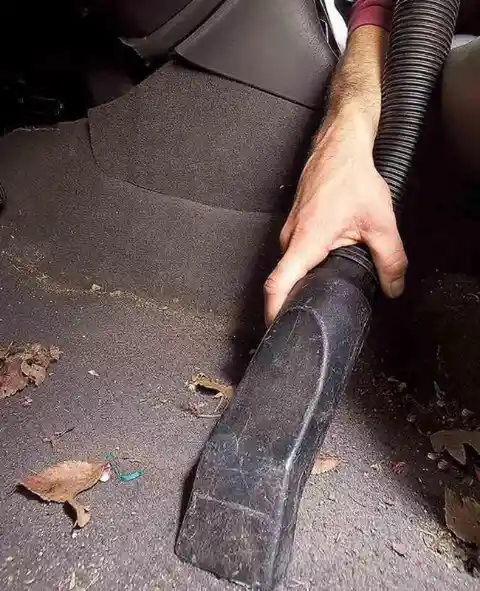
Don't forget to clean out and vacuum those handy door pockets (another source of buried treasure). Learn how to get the best vacuum for the job.
Use a carpet cleaning machine to get the deep dirt that settles into the fibers of the carpet. (Clean cloth seats this way as well.) It sprays the carpet with a solution of water and cleaner and then sucks the dirt and grime into a reservoir. A machine like this pays for itself after just a few uses.
Scrape Off Those Annoying Stickers
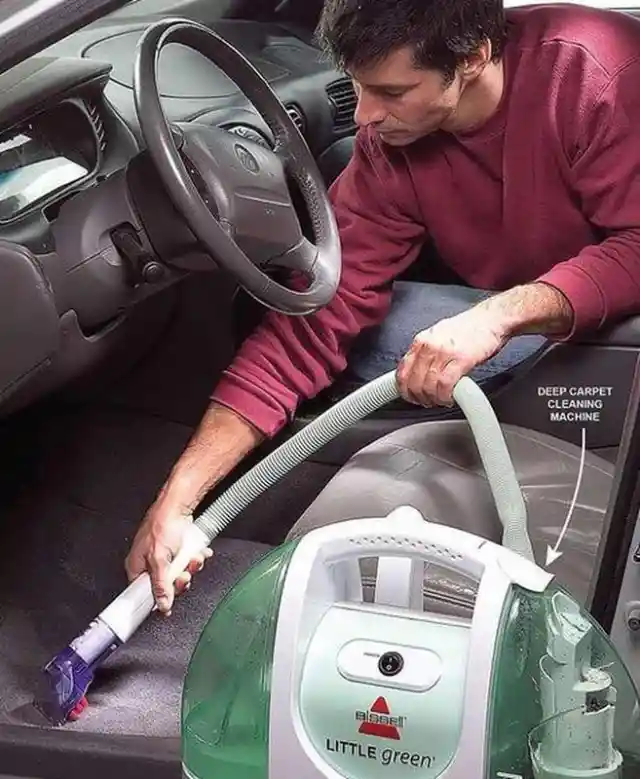
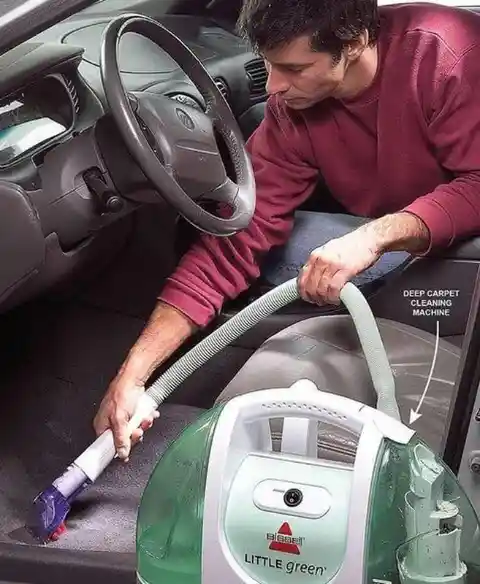
You can also rent one from a rental center or use a spray-on cleaner and a scrub brush instead.
All of your national and state park stickers may call to mind great memories, but they can be a visual hazard as they accumulate. The high-quality stickers will pull off if you can get under a corner and carefully pull them free at a 90-degree angle. Others will leave a gummy residue and require a bit more attention.
Brush Out the Air Vents
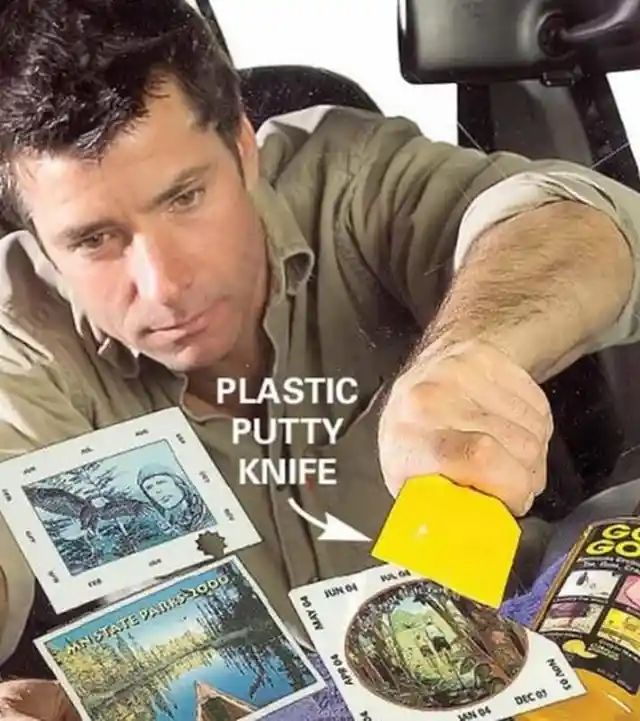
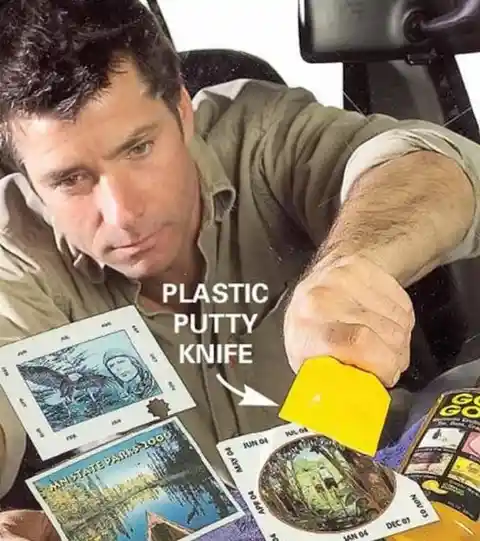
Cover your dash with an old towel and dab on a degreaser like Goo Gone. Then scrape and wipe it off.
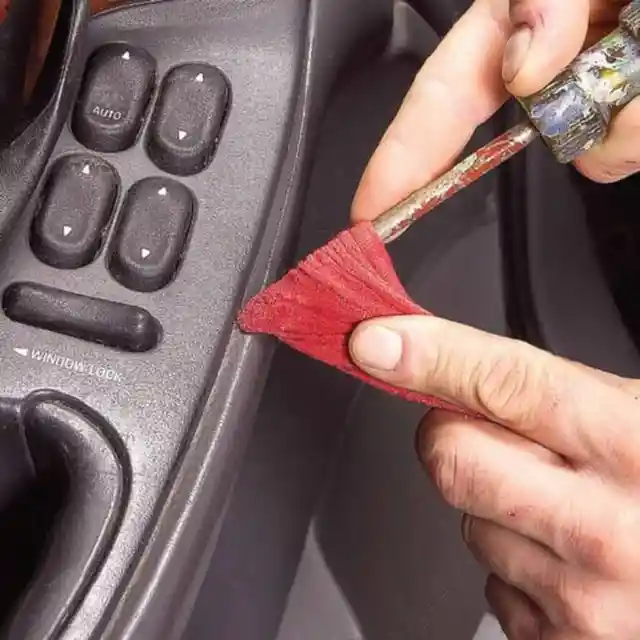
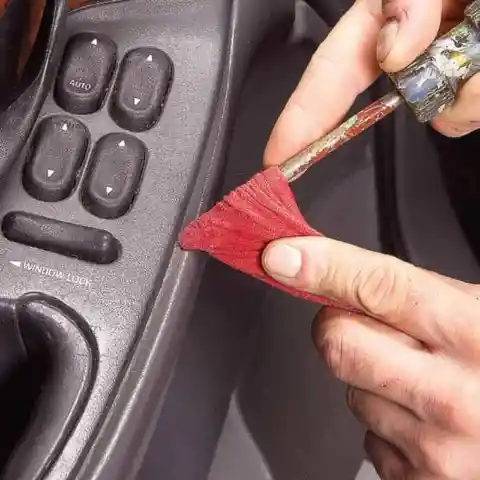
These louvers are a real magnet for dust, and a vacuum with a brush attachment just won't get it all. Take an inexpensive artist's paintbrush and give it a light shot of furniture polish. Work the brush into the crevices to collect the dust.
Remember to Clean Nooks and Crannies
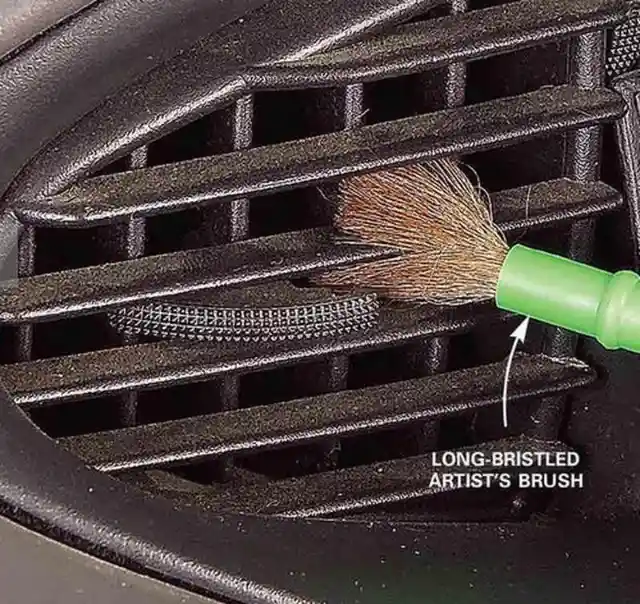
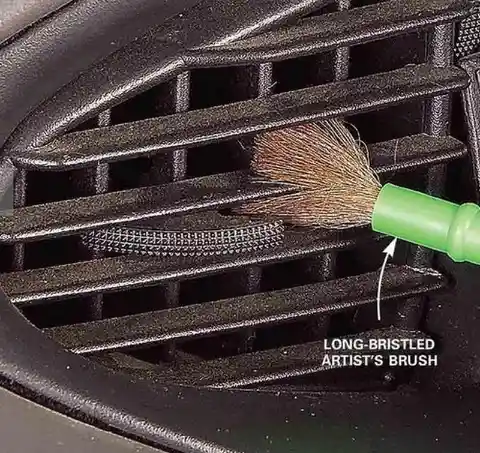
Wipe the brush off with a rag and move on to the next one.
Detailing means just that—finding and dealing with all the trim lines and recesses that a quick once-over cleaning job misses. Wrap a cloth around an old, worn screwdriver (without sharp edges) and spray Simple Green or other all-purpose cleaner on the cloth. Move it gently along the trim lines to pick up the gunk. Keep refreshing the surface of the cloth.
Cleaning the Central Console Area.
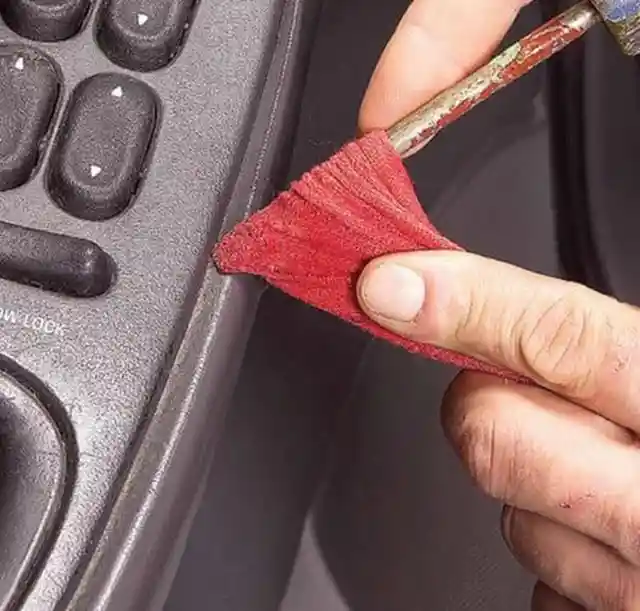
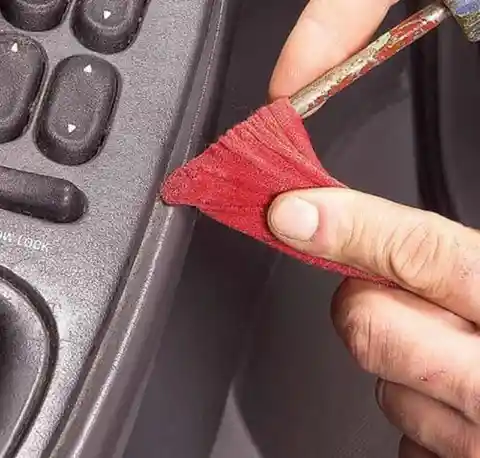
Go around all the buttons and controls as well. Follow up with a rejuvenator like Armor All.
Remove extraneous items. You should take out all of your valuables and stuff that could get in the way, such as work and gym bags, children’s toys, books and magazines. Then, remove all of the recyclables such as water bottles and cardboard items.
Wipe down the center console.
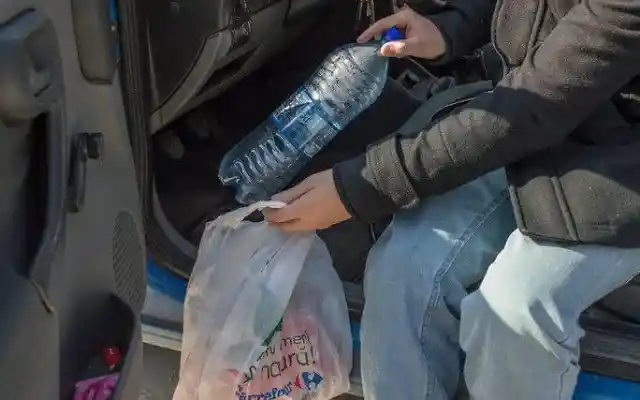
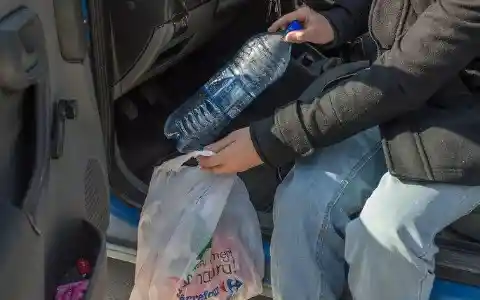
Finally, remove all of the trash and put it in a garbage bag.
Moisten a rag with some household cleaner or glass cleaner. Work from the cleanest areas to the dirtiest, leaving the grunge for last. Clean the dashboard area, steering wheel and center console.
Clean the buttons on the dashboard with a flathead screwdriver.
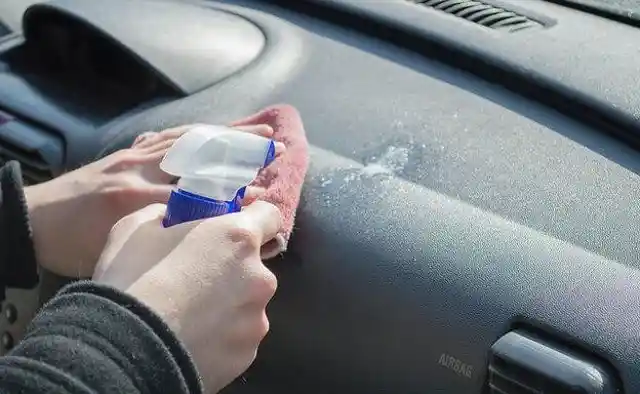
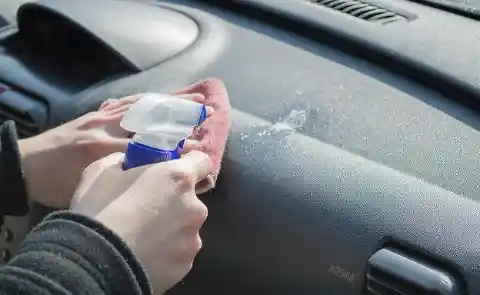
You will also want to wipe down the gearshift and inside door pockets.
Detail the car using an old toothbrush. Use an old, soft bristle toothbrush to clean tough spots such as leather grain on the interior doors and console.
Clean the windows.
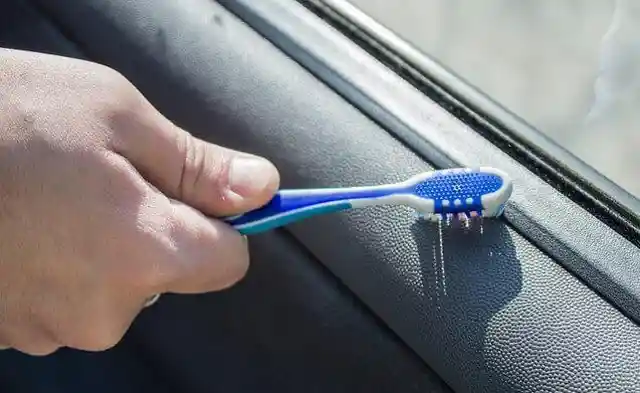
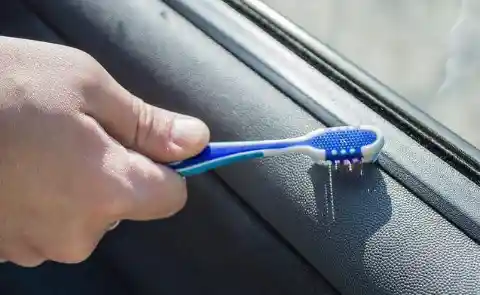
Surfaces with texture on your doors or steering wheel can be tackled with an old toothbrush. Brush in a circular motion to get rid of the dirt
Use window cleaner and a rag to wipe down the interior of the windows. Clean the windshield, side windows, rear window and sunroof. Use a circular motion to clean the inside of each window.
Vacuuming Your Car
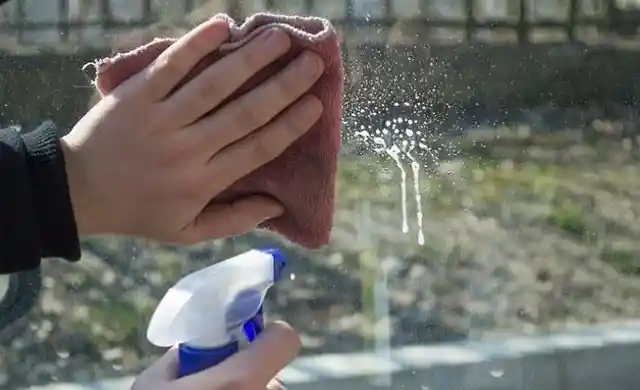
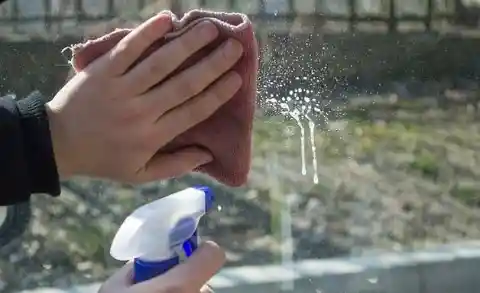
Once the entire window is wet and the dirt and oils lifted, polish with a firm circular motion.
Clean the floor mats. Prior to vacuuming, you should remove the floor mats so you can get to the grime underneath. If your vehicle has plastic floor mats, you can take them out of the car and shake the dirt out. Then, hose them down with a garden hose and let them dry.
Hair conditioner for shine
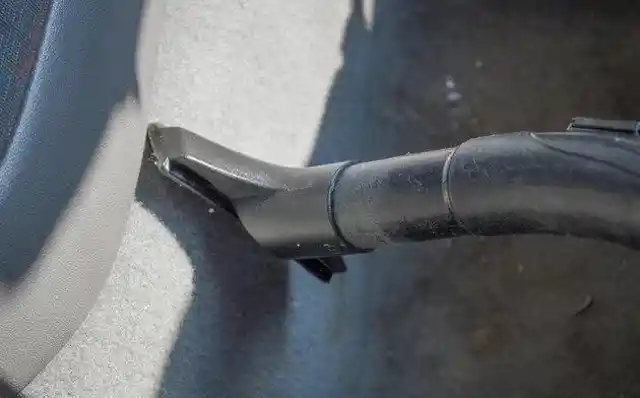
If your car has carpet mats, you can vacuum them in the car or take them out to vacuum. Return the mats to the car after you finish vacuuming the interior.
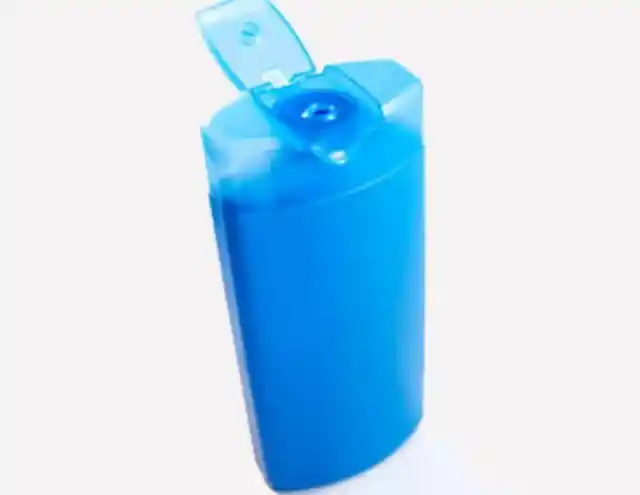
Wash your car with a hair conditioner containing lanolin. You'll become a believer when you see the freshly waxed look, and when you find that the surface will repel rain.
Fizz windshields clean with cola
When it rains after a long dry spell, a dirty windshield turns into one big mess. Get rid of streaks and blotches by pouring cola over the glass. (Stretch a towel along the bottom of the windshield to protect hood paint.) The bubbles in the cola will fizz away the grime.


Just be sure to wash the sticky cola off thoroughly or your cleaning efforts will end up attracting dust and dirt.